On to the next part. As before, PaulD provides the questions in bold, and I answer.
…..and especially not knowing where to go next once I’ve activated the D-formers — to which part of the D-former, to which parameter dial? — there are too many choices for me at the moment and I usually end up warping things way off jumping from one tweaking point to another.
Woah there cowboy! Don’t touch that dial!
D-formers are like magnets; they can be used to push, pull and reshape parts of clothing (or anything else, for that matter) meaning they sound like the tool to use when it comes to making clothes fit perfectly – and sometimes they are just what’s needed. But not often. There’s far simpler ways of dealing with poke-through that are much less time-consuming and fiddly to use.
D-formers come into their own when dealing with skimpy clothing. If you’re trying to fit a bikini designed for one figure onto another (one made for Vicky 3 onto Vicky 4, say) then you’re likely to need D-formers to get the shape just right. Even then though, I’d only reach for them when I’ve tried a few other methods first without success.
Here’s a walk-through which showcases a handful of different tricks along the way. A walk-through for poke-through. Hehehe.
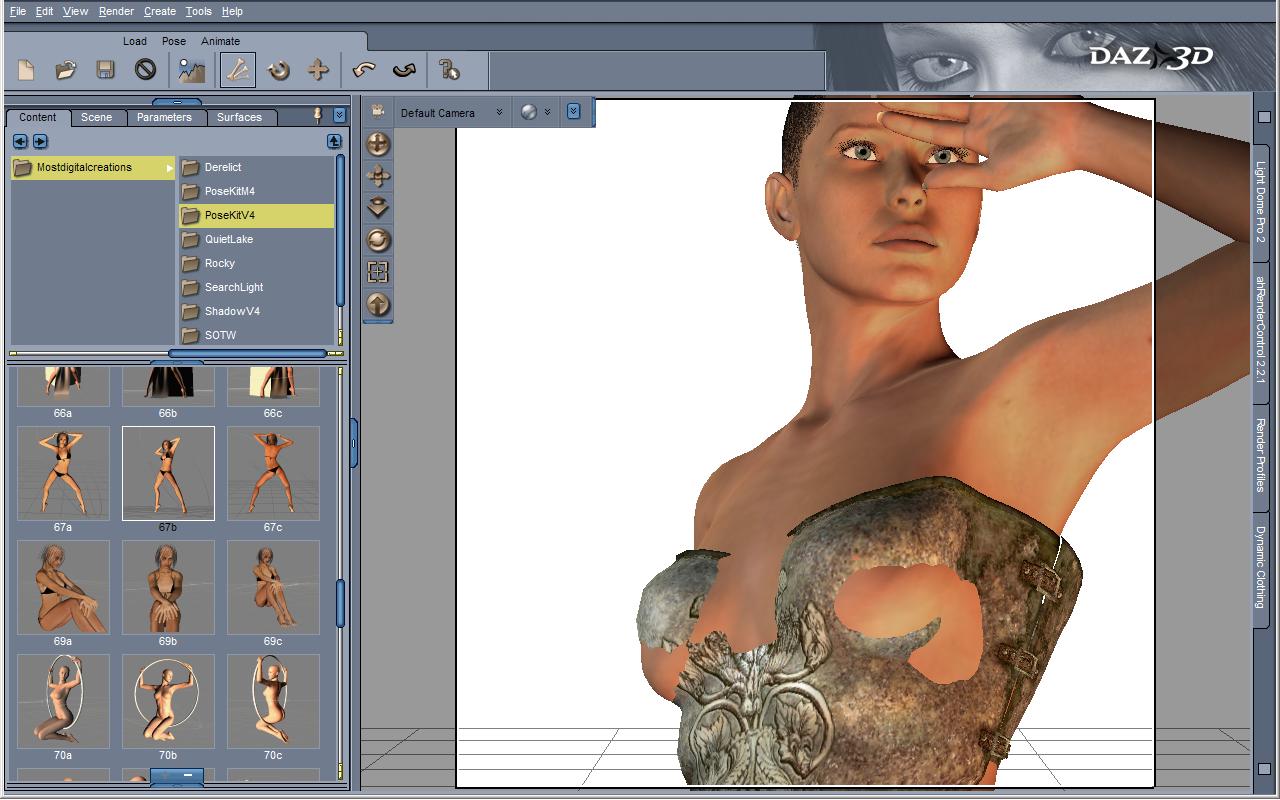
Here’s the starting setup. This is Victoria 4.2 wearing a metal breastplate corset thing designed for Victoria 3. There’s no way that was going to fit! Despite both being called Vicky, they have very different default bodyshapes for a start, and clothing made for one won’t “talk” to the other to share morph information. Ick.
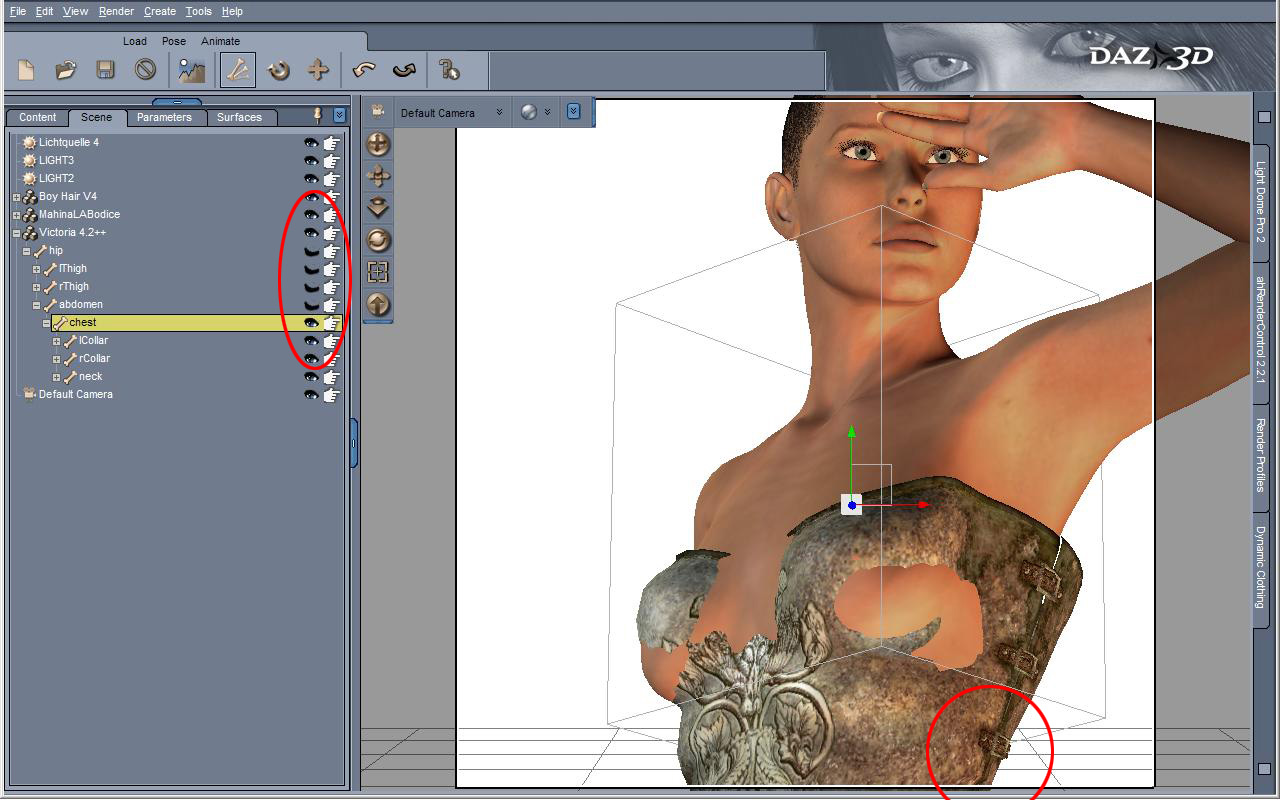
The first thing to do is Hide what you can. In the Scene tab, expand Vicky’s body list and click on the Eyes next to each body part that’s either not in the scene or is completely covered by clothing. In this case, I’ve hidden the Hip, Thighs and Abdomen. That gets rid of one piece of poke-through straight away and also speeds up render-time a touch, which is nice.
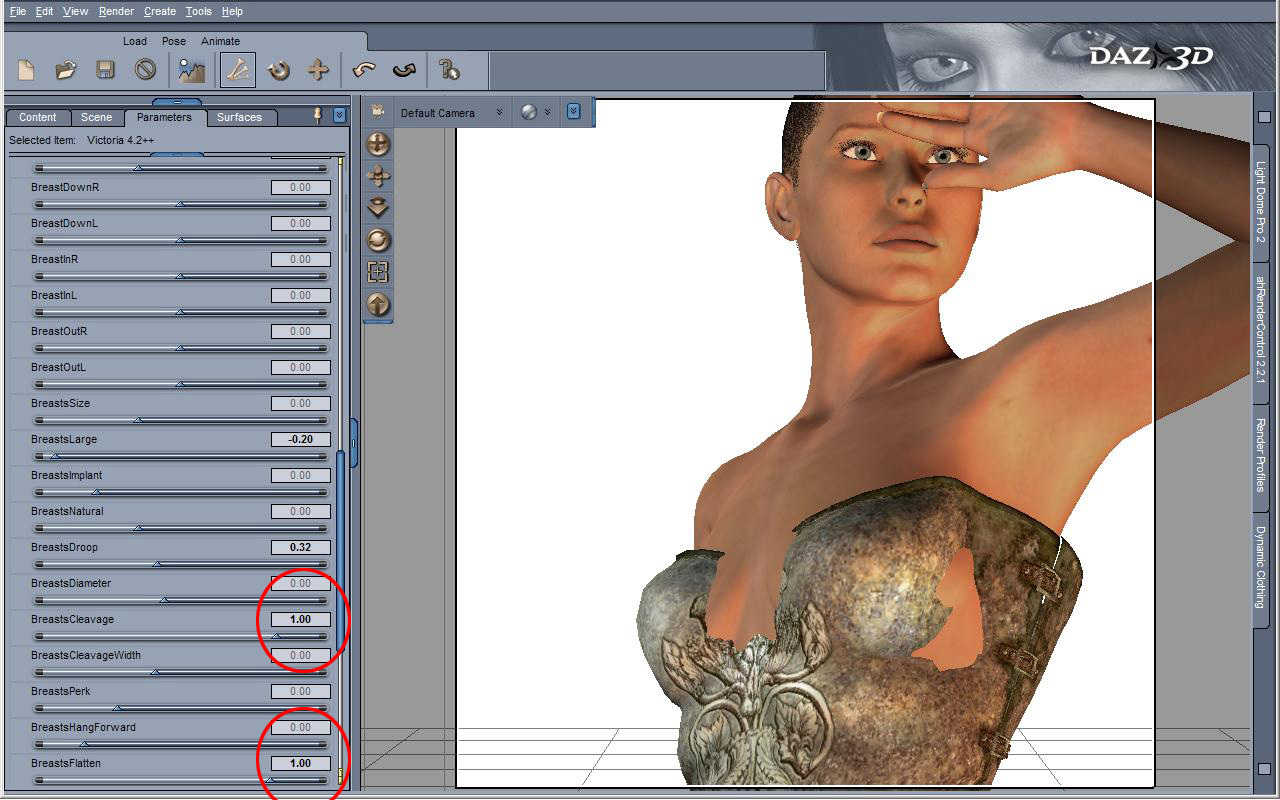
Next head into the Parameters tab with Vicky selected, and see if we can fit her into that breastplate a little better. As I’m using the Morphs++ pack there’s no shortage of dials, so I set BreastsCleavage and BreastsFlatten to 1 and fine-tune a few more until it looks about right.
Definitely getting there! Time to see if there’s any parameters in the Breastplate itself that might be of some use – and there are! This item thankfully contains a lot of fitting morphs for Victoria 3. Even though they’re no (strictly speaking) Victoria 4 compatible, I can still use them manually to reshape the Breastplate.
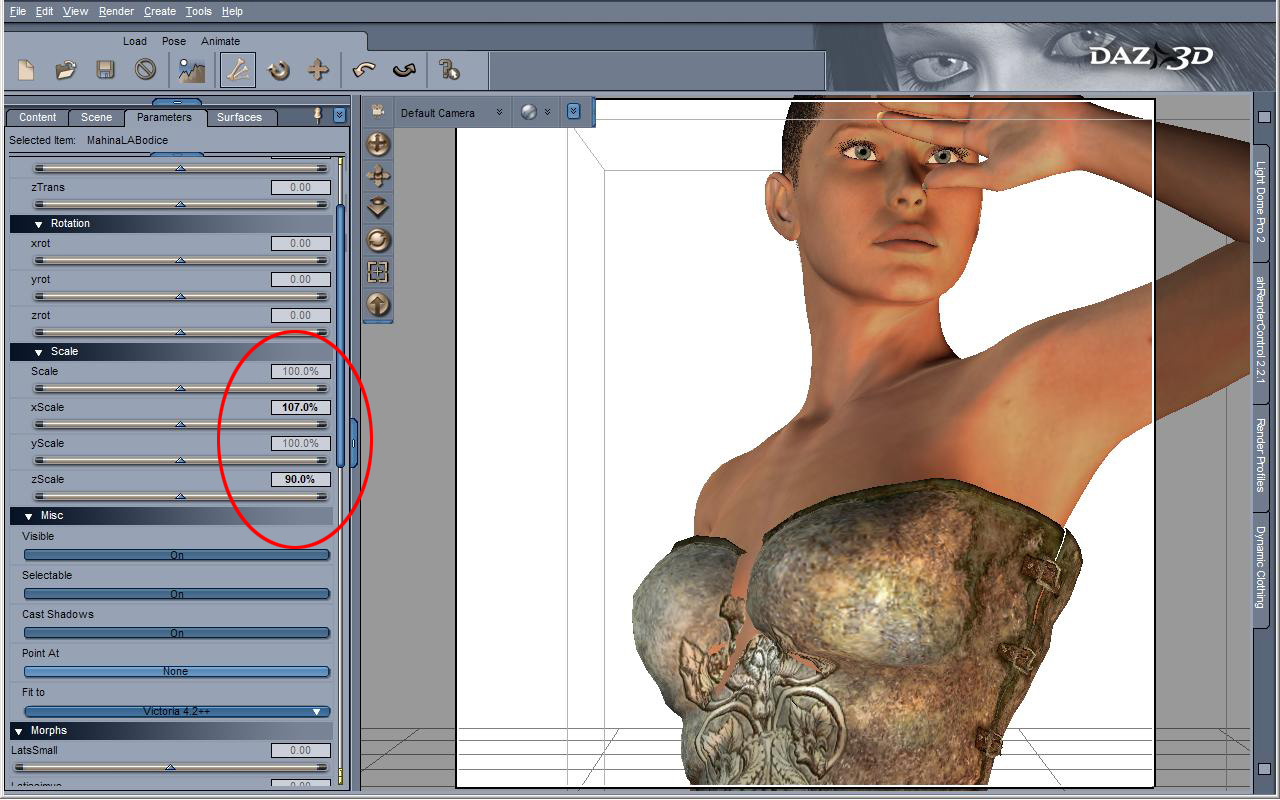
Of all the ways to get rid of poke-through, one of the easiest is to use the Scale dials. In this case, setting the zScale to 90% and the xScale to 107% (through a little trial and error) looks pretty good. This means it’s wider left-to-right, but narrower front-to-back. Works though.
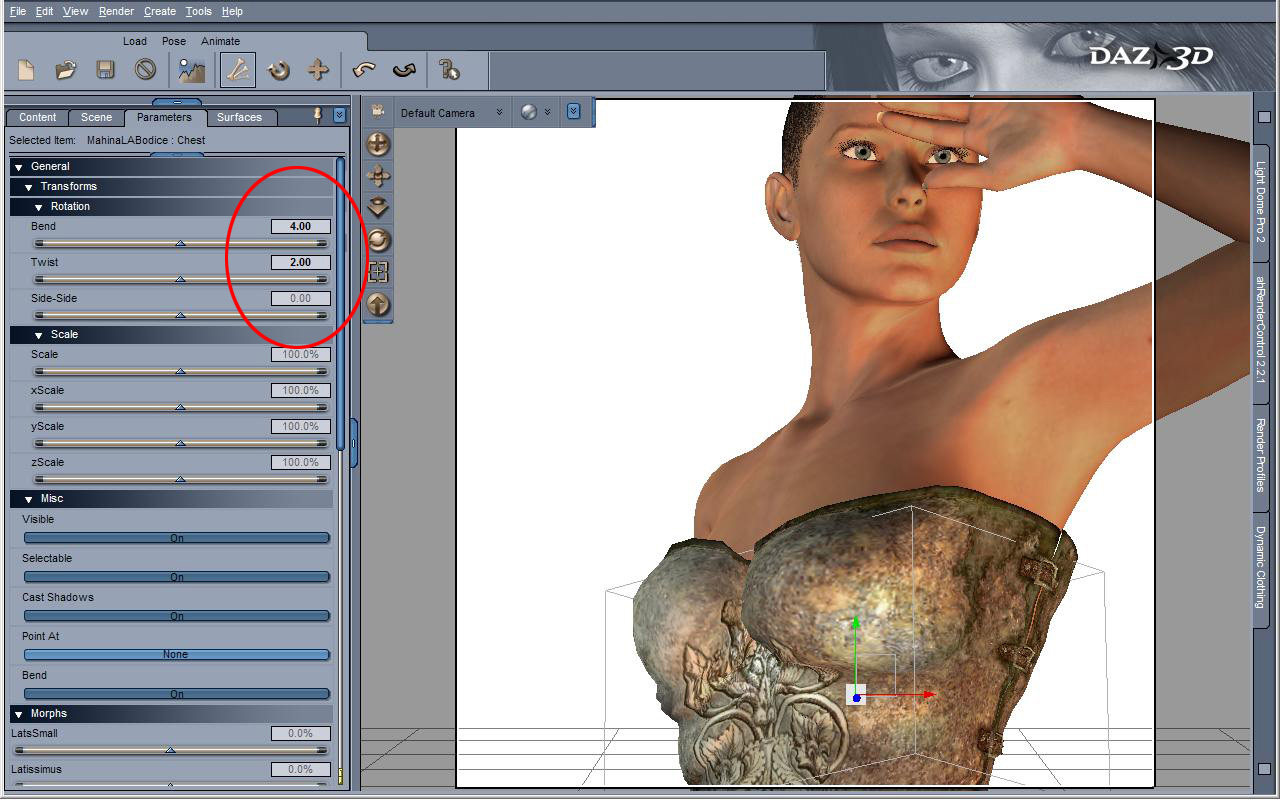
If this was for anything more than a tutorial, I’d fiddle with the settings some more, but that’s not looking bad at all. Finally, select just the Chest part of the Breastplate, and Bend it forwards and Twist to the side a little. This hides the poke-through between the breasts and at the side.
There. Time to add a background, facial expression and hit Render.
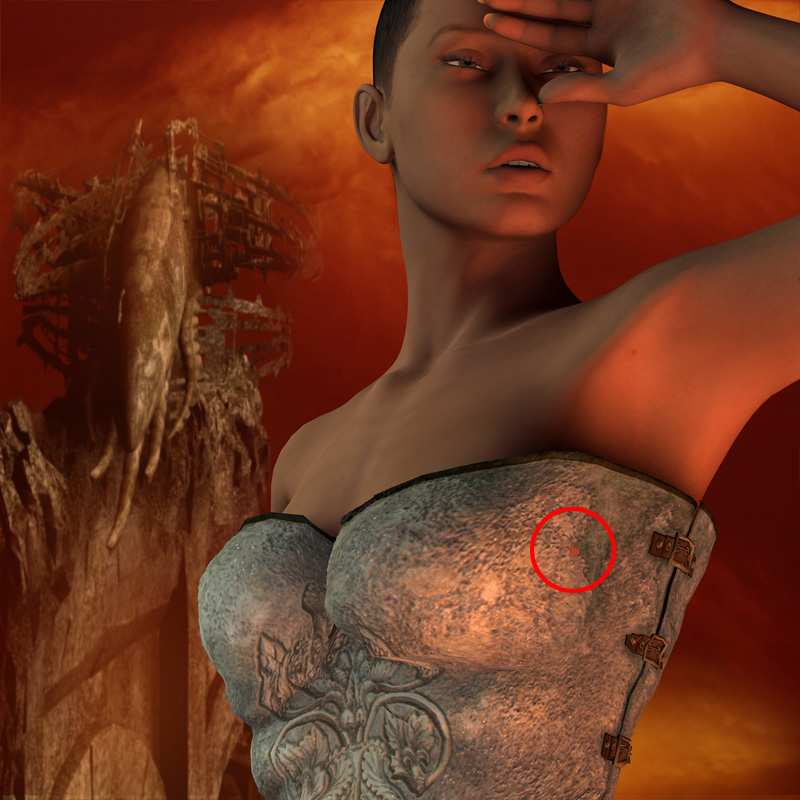
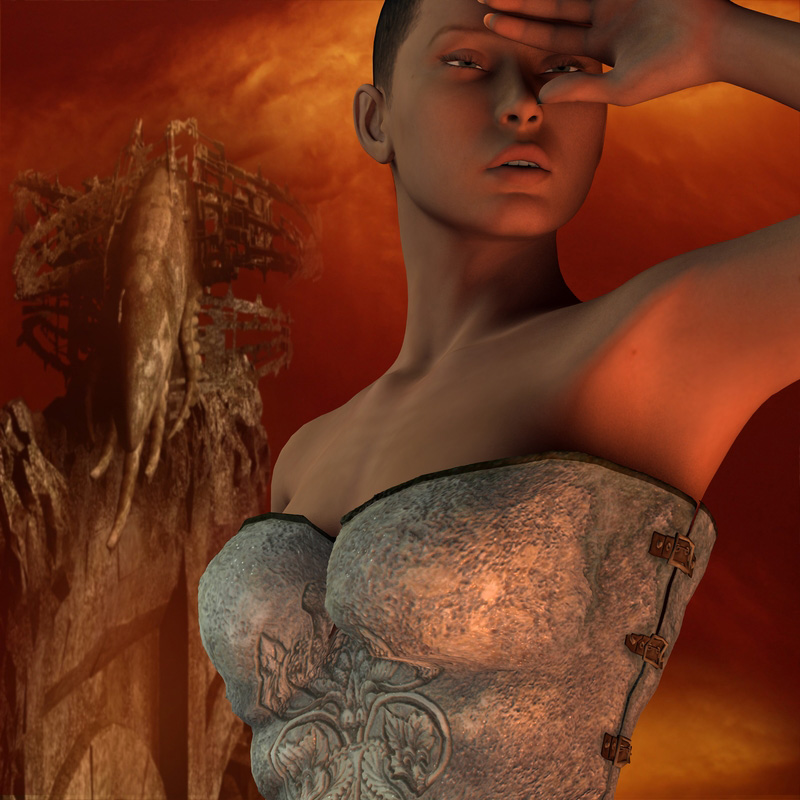
Uho! There’s a tiny bit of poke-through snuck in. Rather than fiddle with the settings some more and re-rendering, it’s much easier to Clone Stamp that sucker out using Photoshop or GIMP. Load the image into your image editor of choice, zoom in and find a suitable replacement patch of texture. Hold down ALT and click on the area then release and click on the offending poke-through. Gone.
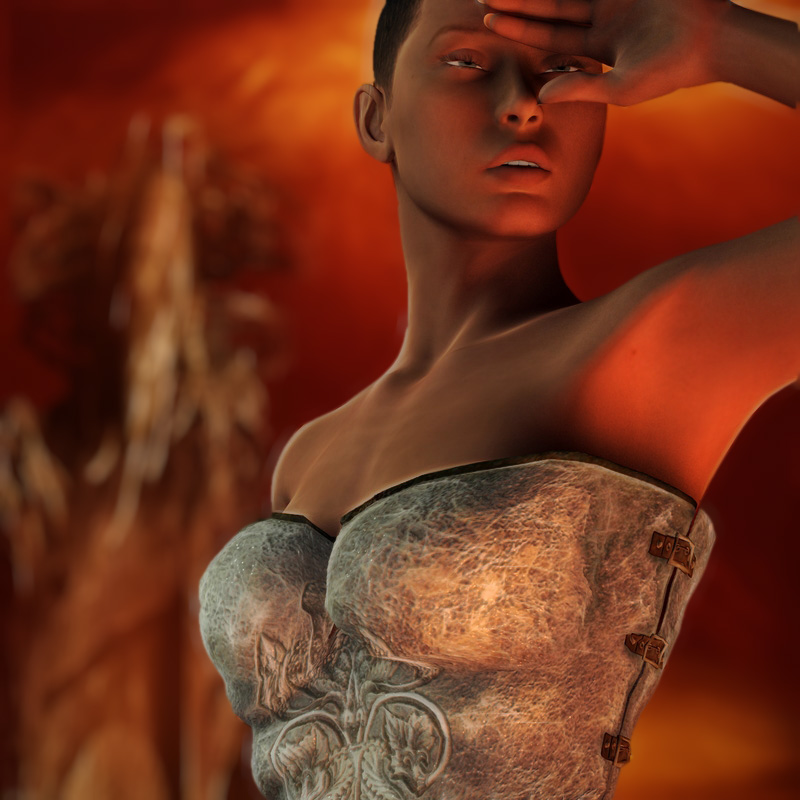
Seeing are we’re in Photoshop, let’s run this through a few filters (about which, another time), and……..
In summary:
- Hide the body parts you can’t see
- Use the morphs on the body and clothing
- x, y and zScale is your friend
- For small patches of poke-through, there’s always Clone Stamp
More answers to Paul’s questions, next time!



Very useful way to look at it. I never thought to simply hide body parts to deal with poke through. Too bad breasts can’t be hidden by themselves, though.