So last time we looked at the free Dystopia City Blocks and how to create a broad sweeping city scene. This time around we’re going to zoom in (or, more accurately, scale up) and give your characters a place for all the action to take place.
The key to this is changing altering the scale so that the City Blocks aren’t greeble-style background filling, but scaled up to full size. In Pose->Dystopia->City Blocks there’s two choices – either scale the Blocks up, or scale everything else (figures, spaceships, etc) down. It’s largely semantics which you choose, but I tend to scale the City Blocks up to fit human-sized characters. The only time I’ll scale things down is if I want a large sweeping city scene with tiny dragons, spaceships or fighter planes flitting across the scene. Which is, y’know, pretty cool.
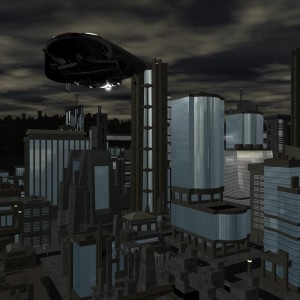
Stinger aircar scaled down, rotate and position. Done.
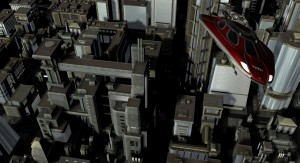
And again. Like shooting fish in a barrel. Seriously.
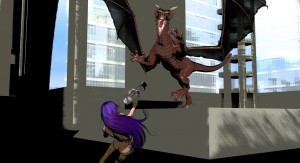
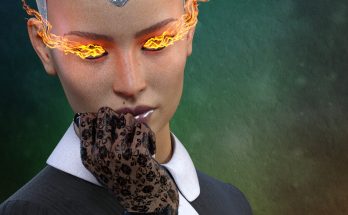
We’re just going to use one single City Block to create a scene starring Aiko 3 in her Mech Girl outfit battling a dragon. Just for kicks, we’re going to use DAZ Studio’s built-in cartoon renderer too. Why? Because we can, that’s why! The end result should look something like this.
We’re going to use just one solitary city block, so the first thing to do is decide which one to use. After a while using the Dystopia City Blocks you’ll find there’s thee of four favourites that you use time and again because they’ve got a certain something about them that suits your style. Me, I’m very partial to Block 10 because it’s got an awesome huge walkway across a road and a cool art deco-ish temple building. There’s lots of neat camera positions to find in that one.
For this render though, I want a wide-open space that’s big enough to park a dragon. Block 1 fits the bill nicely for your purposes, so go to Props->Dystopia->City Blocks and double-click that one. Next, make sure it’s selected in the Scenes tab and go to Pose->Dystopia->City Blocks and double-click the option to scale it to 12,000%. No, that’s not a typo. Twelve thousand percent. This scales the city block up from being a model on George Lucas’ kitchen table up to being something that’s…. well, city block sized. Wow.
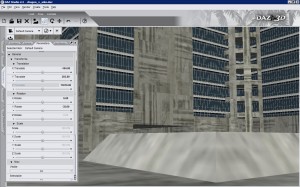
The problem is that the camera is buried under all the concrete and it’s hard to see anything. Solve that by selecting the camera in the Scenes tab and moving it way, way back. In the Parameters tab set the Z Trans to around 15000 and Y Trans to 500. There. That’s better.
Jiggle the camera around using the rotate-and-pan pan control in the top-left corner of the view, just to get a sense of scale. Yike. When you’ve finished feeling like a country hick in the big city, set the camera location to X Trans = -104, Y Trans = 203, Z Trans = 13870 and X Rotate = -6, Y Rotate -35. Set the lights from Lights->Dystopia->City Blocks to Blue Sky. You should see something like this.
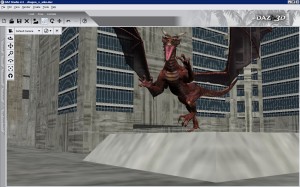
The reason why I picked Block 1 is this central square. It’s surrounded by glass and got a rather nice pedestal waiting for a Dragon to land. So, let’s drop one there, right now. Add the Millennium Dragon (you do have the 3D Bridge Starter Pack, right?) from Figures->DAZ Mil Dragon, move him to the pedestal (roughly X Trans 800, Y Trans 335, Z Trans 12800 should do the trick) then texture (Pose->MAT Millennium Dragon PP), pose (Pose->DAZ’s Mil Dragon) and fine-tune his position and rotation as your fancy takes you. Here’s mine.
Next, drop in Aiko 3, add Mech Girl suit and props. I’ve covered how to do all that before, so hop over there if you need a refresher. I’ll wait. I put Aiko at 100,100,13500 for my render with a suitable dynamic pose. If you want her riding the dragon or whatever, go right ahead. Hey, I don’t ask questions.
As before, select all the lights and enable the Shadow Map and set it to 80%, then in the top menu go to Render-Render Settings… and set the Render Style to Cartoon. I don’t normally enable shadows for Cartoon-style renders, but the Dystopia City Blocks take shadows very well, so in they go. Accept, then hit CTRL-R to render.
Done!



Nice tutorial…. Thanks alot… But Please how do you make AIKO ride the dragon?