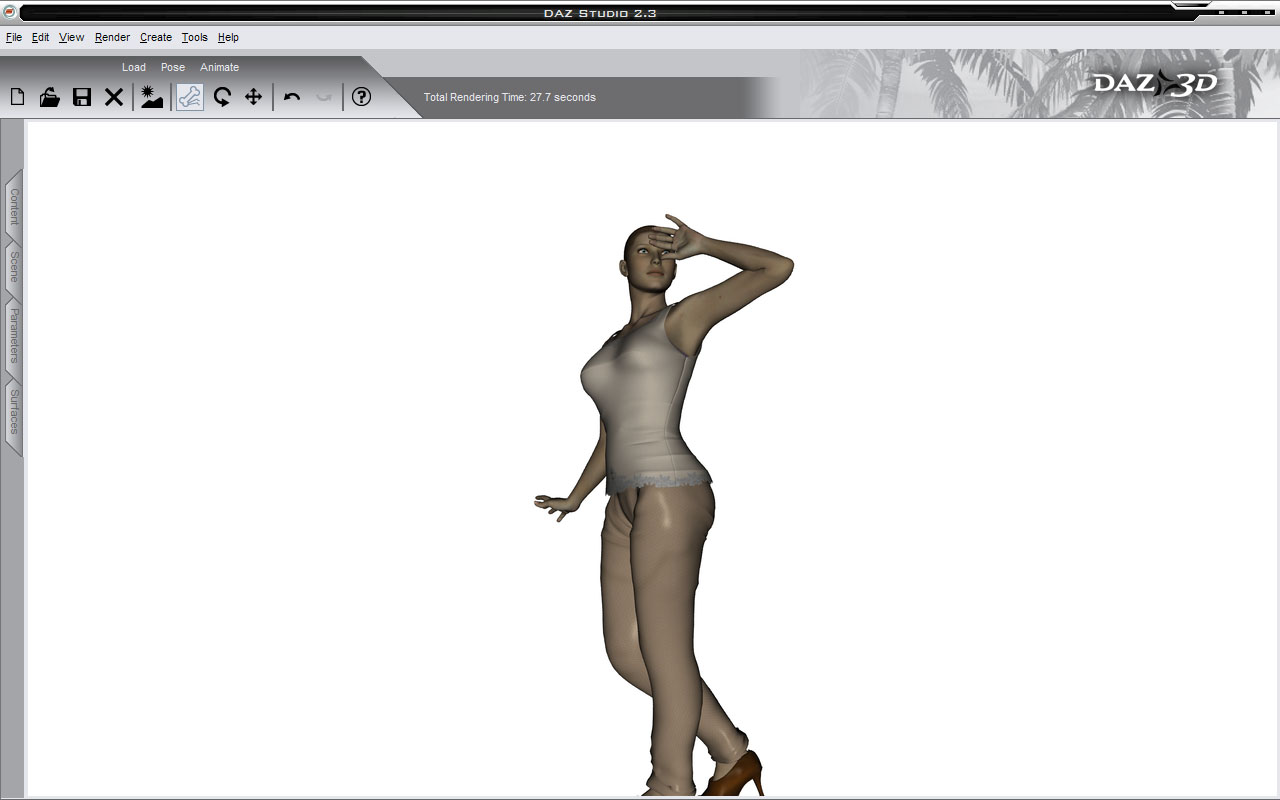
In Part Two, we left Vicky dressed and posed, but floating in a sea of whiteness looking pretty bland and lifeless under the default light setup. This time, we’re going to look at how to manipulate the camera, how to set up the lights and add other elements to the scene.
Here’s Vicky, rendered up just as we left her.
Not very exciting, right?
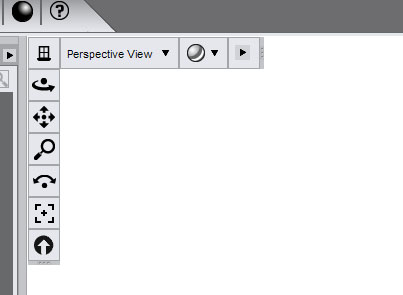
Any film director will tell you that lights and camera angle make all the difference to a scene, and that’s the same in DAZ Studio. First, let’s take a look at the camera. That’s controlled by these controls. We’ve seen ’em already.
Make sure that the dropdown box (showing “Perspective View” in this shot) says Default Camera. That dropdown controls whether you’re looking from a certain direction (top, left, right, etc) or looking through the eyes of one of the cameras you can position around the scene. For now, we’ll just use the one camera – the default one.
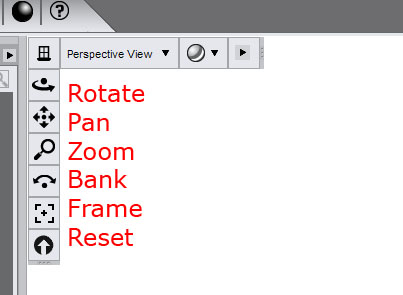
The controls running vertically down the edge of the workspace control the camera’s movement. Here’s a crib sheet.
The top icon is the fun one. That rotates the camera. Try it and see. The next one pans the camera, moving it up, down, left or right along a fixed plane. Hold down the right mouse button instead of the left, and the camera moves backwards and forwards like it’s on a rail (called “dollying”). The third button zooms, and it works in one of two ways.
Hold down the left mouse button and it works much like dollying, moving the camera closer to the scene but keeping the focal length the same. Hold down the right mouse button and move, and it works more like a traditional camera zoom lens, altering the focal length from wide-angle to telephoto.
So, left button zoom is like walking closer or further away from the subject, while right mouse button zoom works like a camera zoom lens. Got that? Good. Which you choose to use has a large impact on the composition of your final renders – that’s something which comes with practise. Here’s a quick example of both.
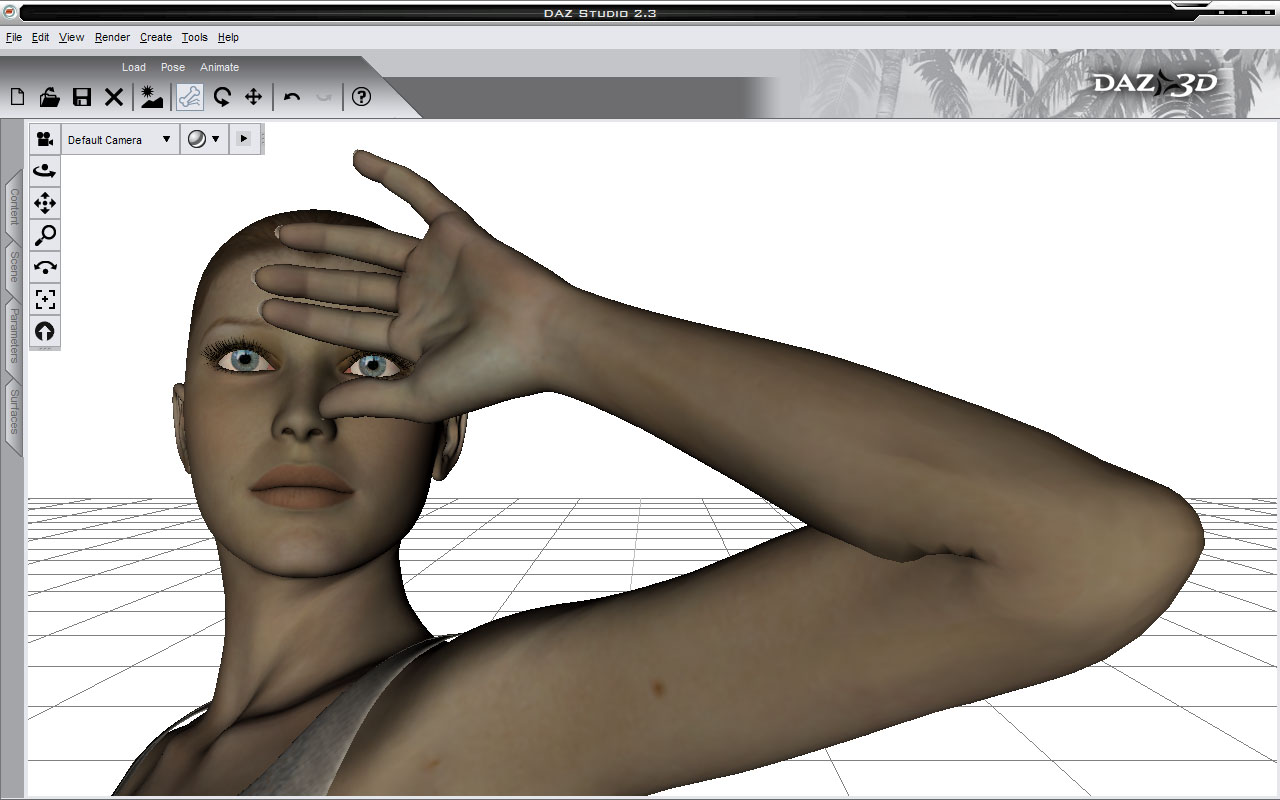
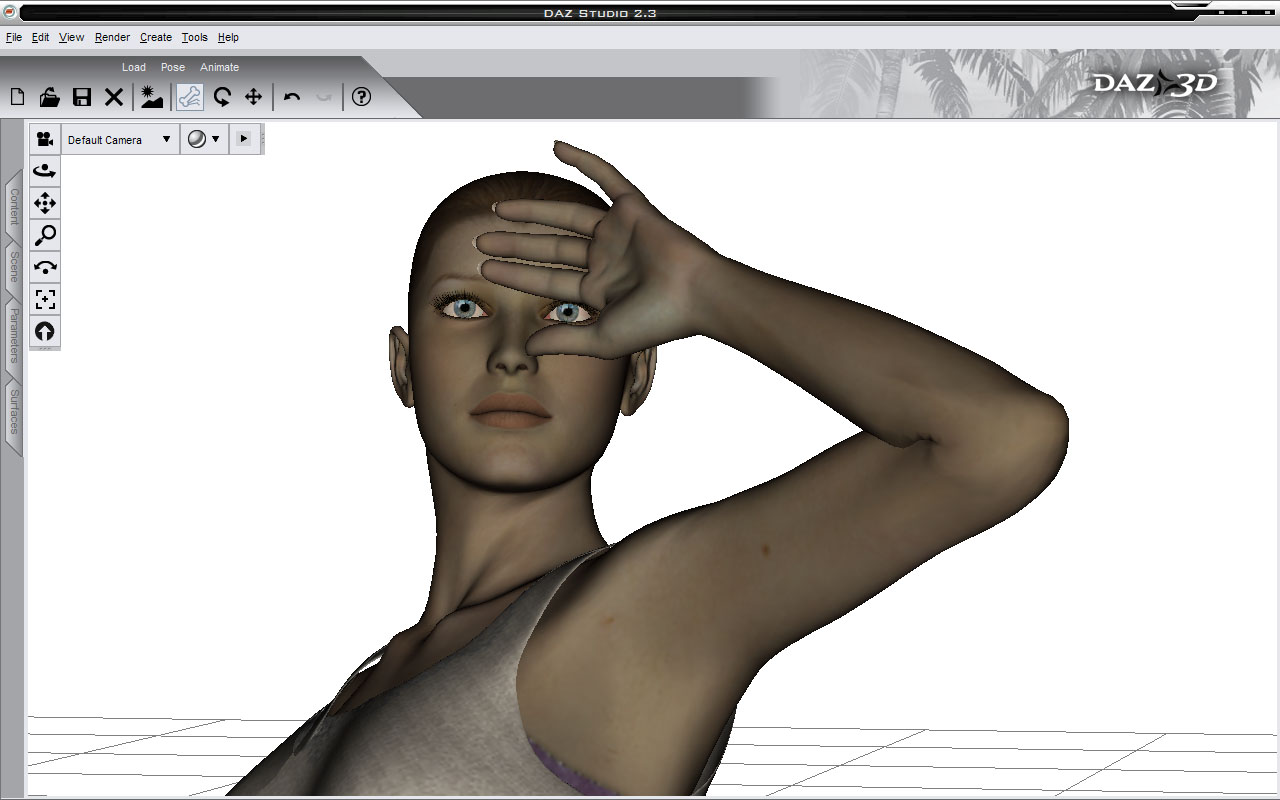
In this screenshot I zoomed in using the left mouse button, leaving the focal length at it’s default (65mm). The arm is looking a little distorted and disproportionately large compared to the head. Not badly so, but compared to…….
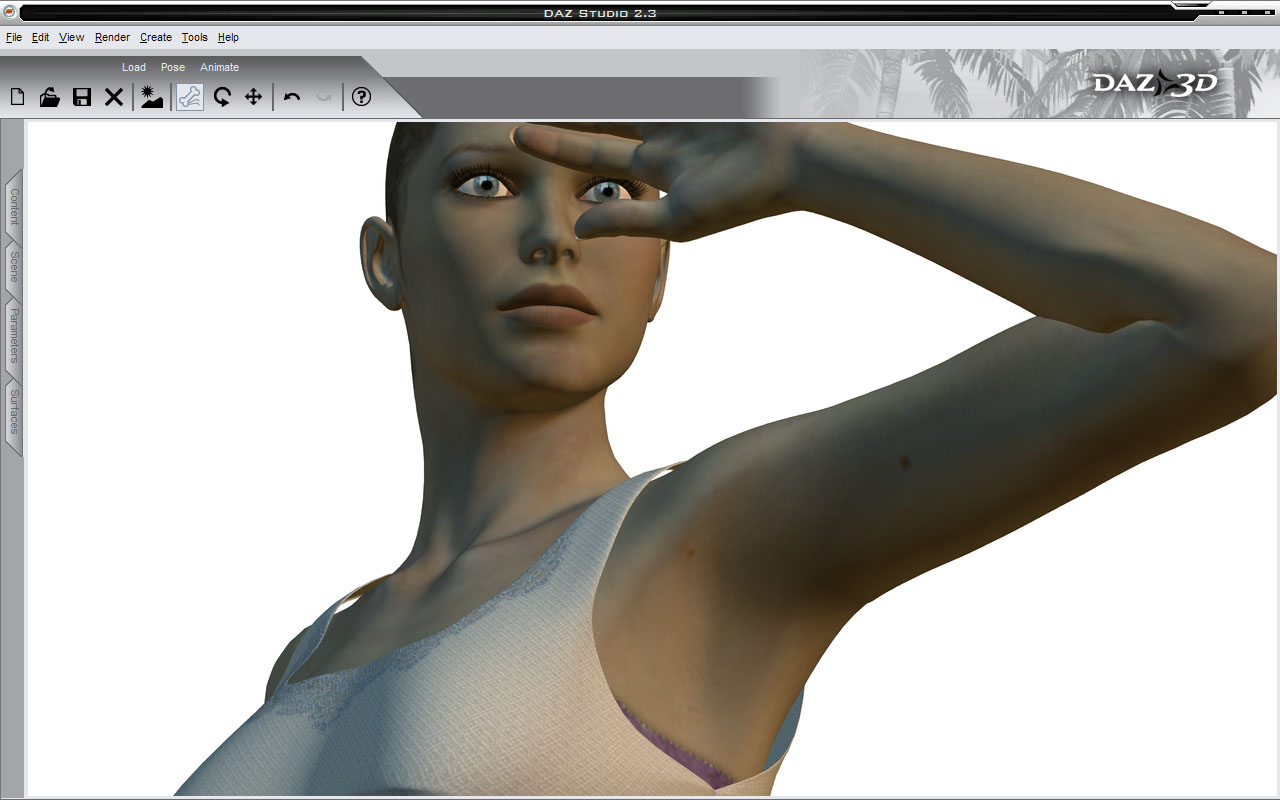
…. this image where instead I changed the focal length to around 300mm, the difference is clear.
None of which probably makes any sense to you unless you’re a photographer anyhow. But it will, young Jedi. It will.
Continuing down the camera control buttons, the next one banks the camera, tilting it left or right. Great for action scenes or making yourself sea-sick. The next frames whatever is currently selected, repositioning the camera so that the object is entirely in the frame. Finally, the last button resets the camera back to it’s default position. If you’ve been playing around you’ll probably need to hit that right about now. Or not. It’s up to you.
Now it’s the turn of the lighting.
If you click (or hover) on the Scene tab you’ll see a list of all the things currently in the scene (well, duh). Shoes, Shirt, Pants, Victoria and Camera – all check. But no lights! How come we can see? DAZ Studio has a default “if there’s no lights, use this” setup which puts some illumination into the scene rather than presenting you with a black screen all the time. It’s not a bad lightset as such, but things can certainly be improved. After all, light is everything.
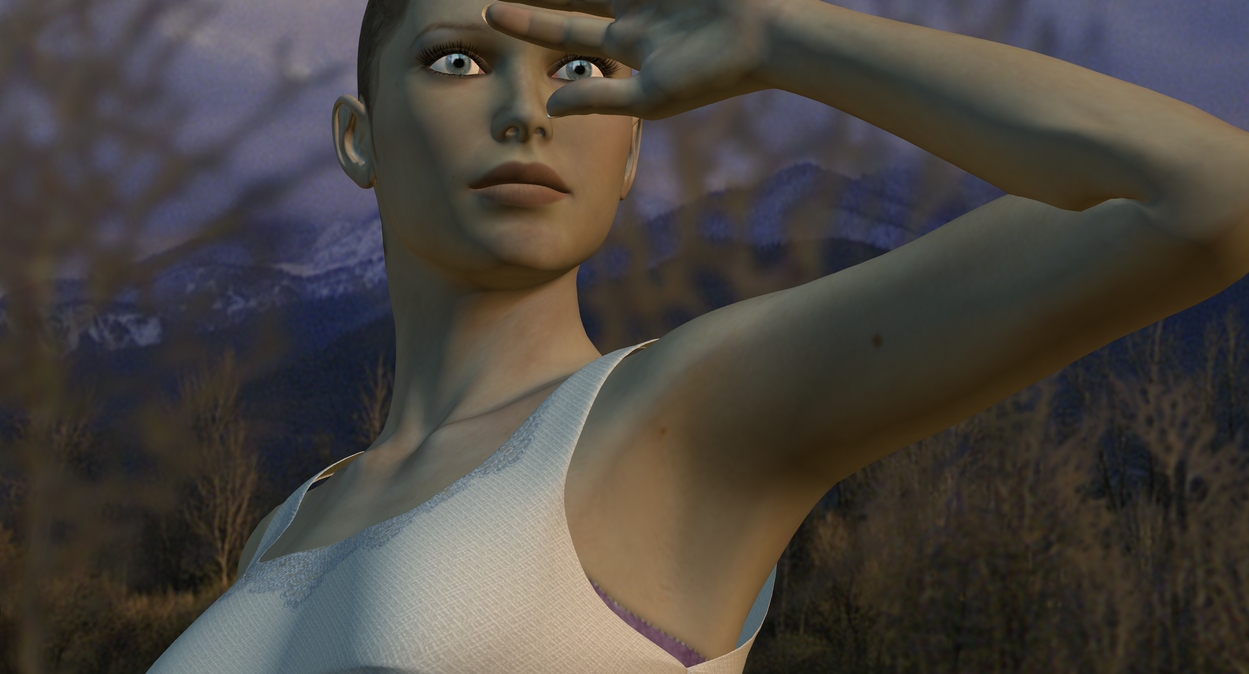
Head over to the Content tab and go to Content->Lights->Environment. You’ll see three light setups that mimic a beach, a forest or plains. Any of them are better than the default, so double-click each one in turn and pick one that you like. We’re going to add a matching background soon, but before we do, select a light then hit CTRL-R to render. You should end up with something like this (I’m using the plains lights):
Even though we’re only using a low-resolution skin texture, things look much better than before. I’ll say it again. Light is everything.
Lastly, let’s add a backdrop. In the Content tab, go to Figures->Environment and choose one that matches your light set. If you’ve moved the camera you might need to position it so that the backdrop appears behind Vicky. If that’s the case, select it in the Scene tab, then open up the Parameters tab. yrot controls the y-rotation (more about x,y and z another time). Drag the slider below yrot until the background rotates into position.
When you’re happy, hit CTRL-R. If you want to save your masterpiece, go to File->Save last render. Move and zoom the camera, render again…. and again…. again….. :D
Next time we’ll take a look at that Parameters tab in more detail and see the Many Faces of Victoria and Michael.
Till then!



Don’t stop, this is great stuff. Thanks for your help.
Thanks. Next one will be up later this week :D
Very cool. If I use it for NOTHING else [and I plan to keep playing with it regardless] I can use it as a “posing” machine for pencil drawings
@Blaquesaber That was the original use for Poser after all, and DAZ Studio is a very worthy alternative. Mind you, with all of DAZ Studio’s shader options it’s possible to do “pencil drawings” directly within DAZ Studio itself.
That piccy of me standing on the bottom right of this site – entirely done in DAZ Studio, with no postwork at all. Clever, eh?
I’ m with you so far, but how do I set the focal length?
Also, if I’m walking closer it doesn’t seem that the arm gets distorted and larger. Why would the “walking closer” work like it shows?
Keep this up.
Boy that was a stupid question…
When I went to change default camera again, there was the focal length!
Please ignore my density
o_o
@Blue Flame Sorry I missed your question and glad you found the answer yourself. It’s easy to miss those parameters sometimes!