
The latest release of DAZ Studio (1.14.0.8, at the time of writing) adds a new Shiny Thing to its repertoire of many shiny things, in the form of the Google Filament render engine. This can be used both to make your Viewport whilst creating renders look a thousand times better, as well as a full render engine for your output in its own right.
And it’s fast. Astonishingly so. Here’s quick example. Here is an image using the iray render engine in DAZ Studio on my old and creaking laptop.
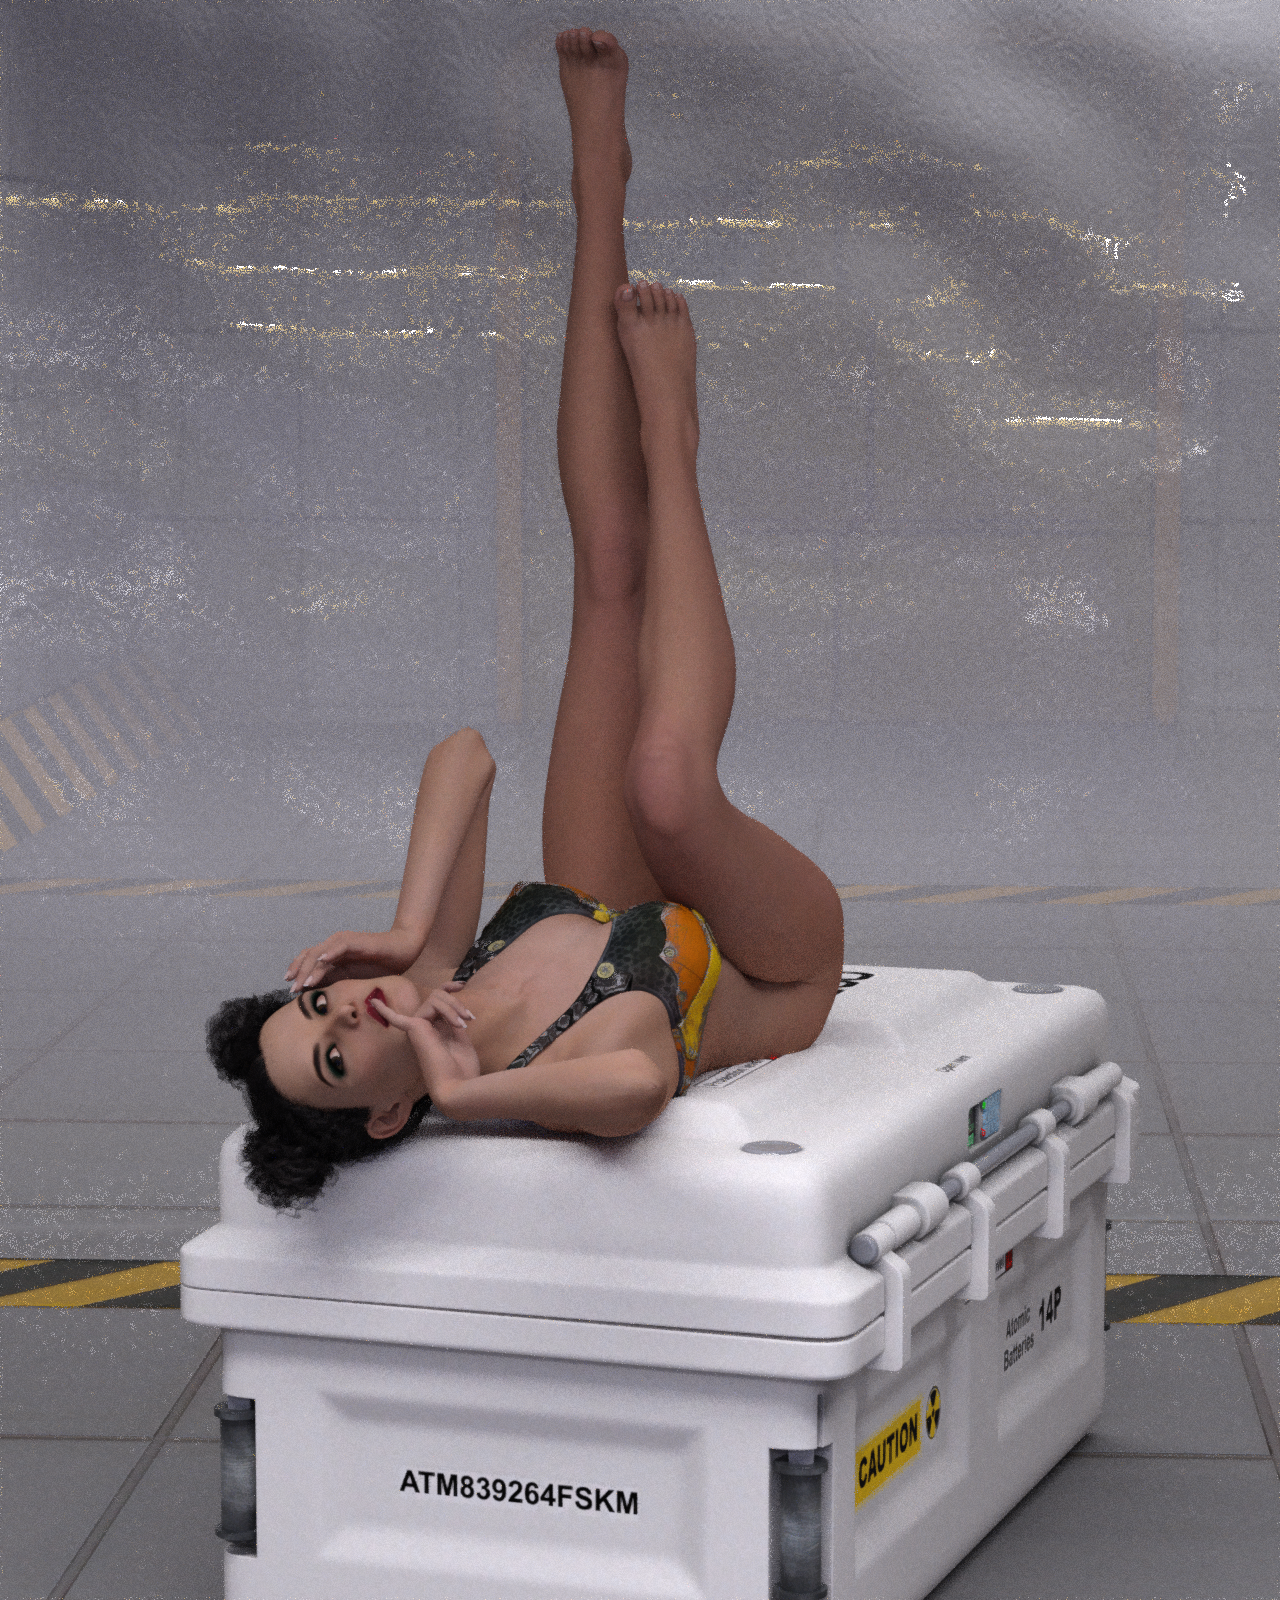
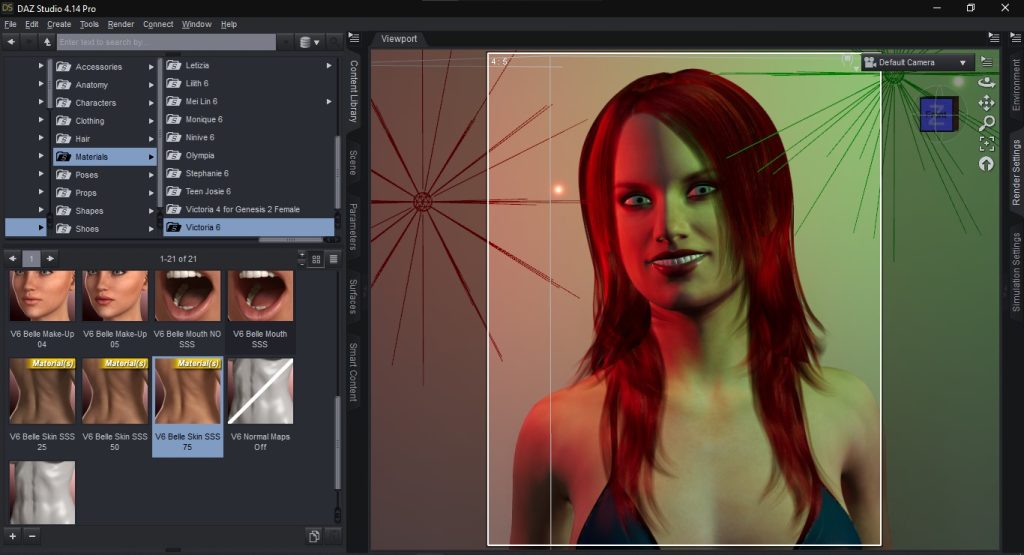
That render took around 3 hours to complete. On a newer system (specifically, one with a recent generation Nvidia graphics cards) that would complete in around 30-45 minutes. Significantly faster, but still a fair chunk of time. The shimmer in the background is purely because I was using a Filament-specific depth fog and wanted to see how it looked in iray. Not so good, it turns out.
Here is the same render completed using Filament. Same lighting, identical setup.
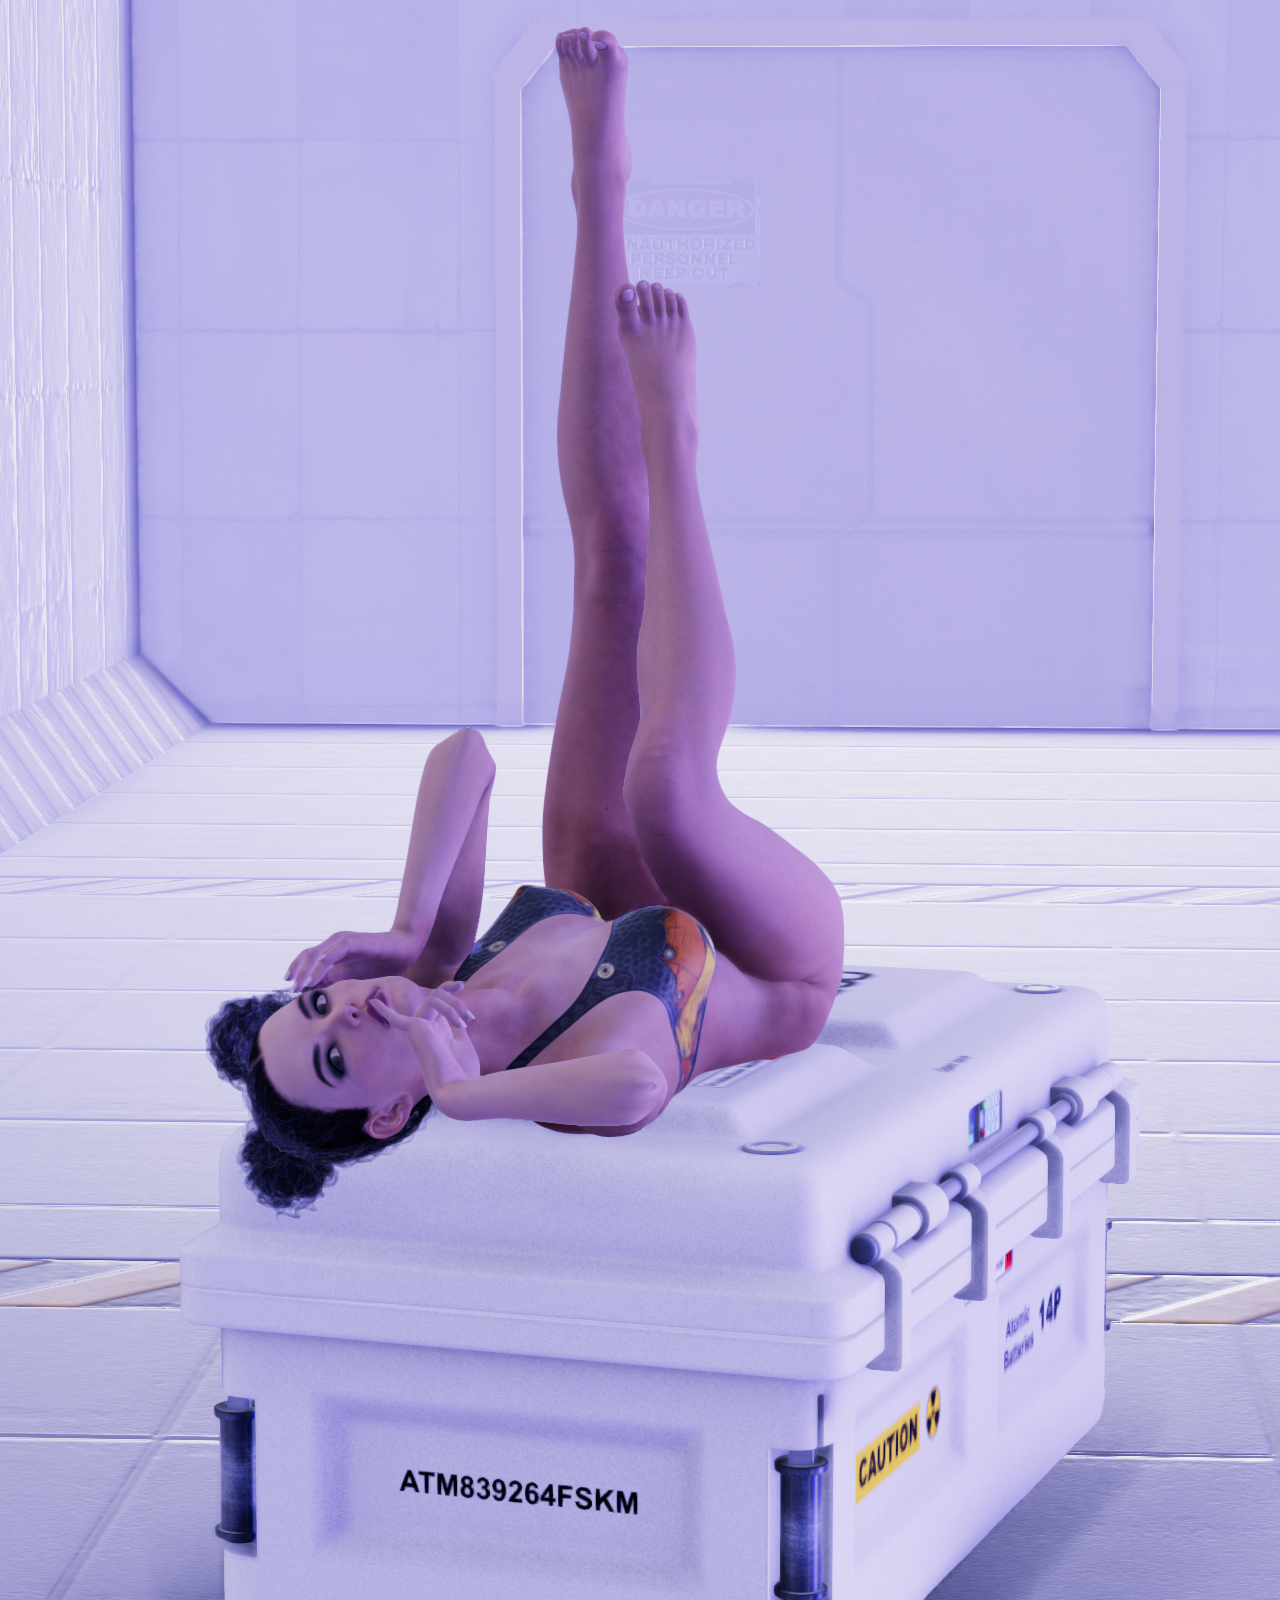
Total time to render: 2.83 seconds. No, that’s not a typo. Seconds.
Of course, there are differences between the two as both handle light differently, but with some tweaking and adjusting of the lights to suit the different engines you could get close to identical from either. But Filament will do it faster. A lot faster.
It’s worth noting that as this is the first release of Filament in DAZ Studio, there’s a handful of things it doesn’t do yet, but they will come in time. Reflections are out, for example, as are emissive lights. Hair transparency is very hit-or-miss meaning some hairs look great and others look downright odd and unusable. There are partial fixes to this, but in the meantime I’ve found the best solution is to find hairs that work, and stick with them until new shaders or an update to DAZ Studio & Filament fixes things.
Or, y’know, not use hair at all…
Convinced yet? Here’s how to get up and running with Filament for DAZ Studio, as quickly as possible.
Step zero: Download and install DAZ Studio. I’ll wait.
Step one: In the top menu, go to Edit->Preferences->Interface and set Texture Resources to Quality, then hit Accept. This controls the texture quality in the Viewport, which Filament uses when outputting a render. More on that in a mo’. You only need to set this once, so when you’ve set it, don’t touch!


Step two: Click on the Draw Style Options icon in the Viewport and set it to Filament (PBR). This should stay set unless you change it to another Draw Style (such as iray or Texture Shaded)

Step three: In the Render Settings tab, set the Engine to Viewport. When you render, it will use whatever Draw Style the Viewport is set to, which we’ve already set to Filament. Incidentally, this is also how you can create Wireframe or Cartoon Shaders renders too, just by changing the Draw Style in the Viewport. Which is nice.
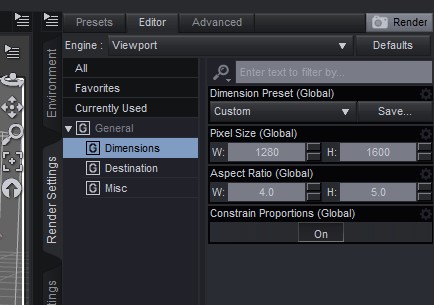
Even though you’re using the Viewport as your render engine, you can still set the output resolution to whatever you want. Either set a Dimension Preset to choose an aspect ration, or use Custom and set the resolution to whatever you want.
And you’re done. DAZ Studio is now set up to use Filament as your render engine of choice, though there are a few things worth doing each time you start a new render.
When you load a figure into DAZ Studio, you’ll see that the scene is much too bright.
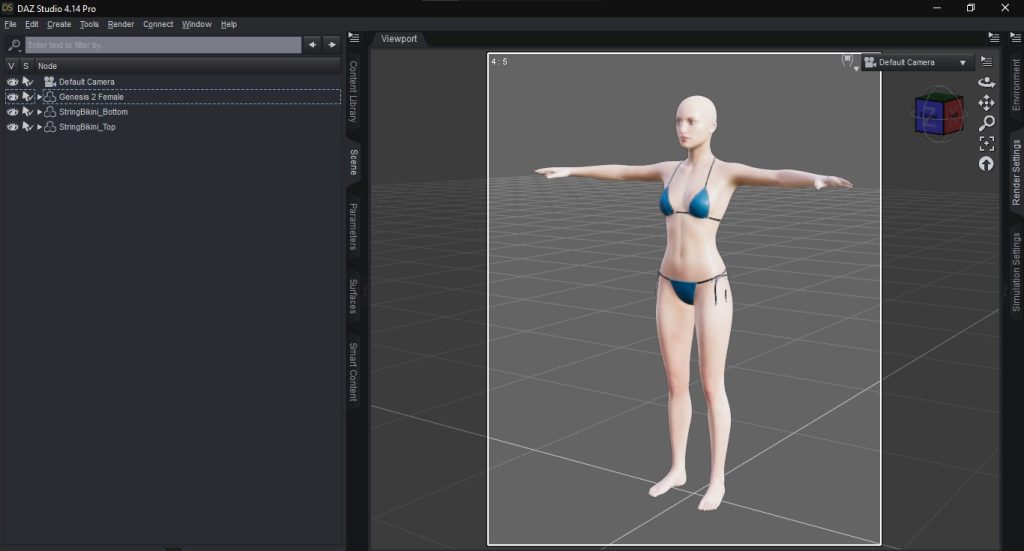
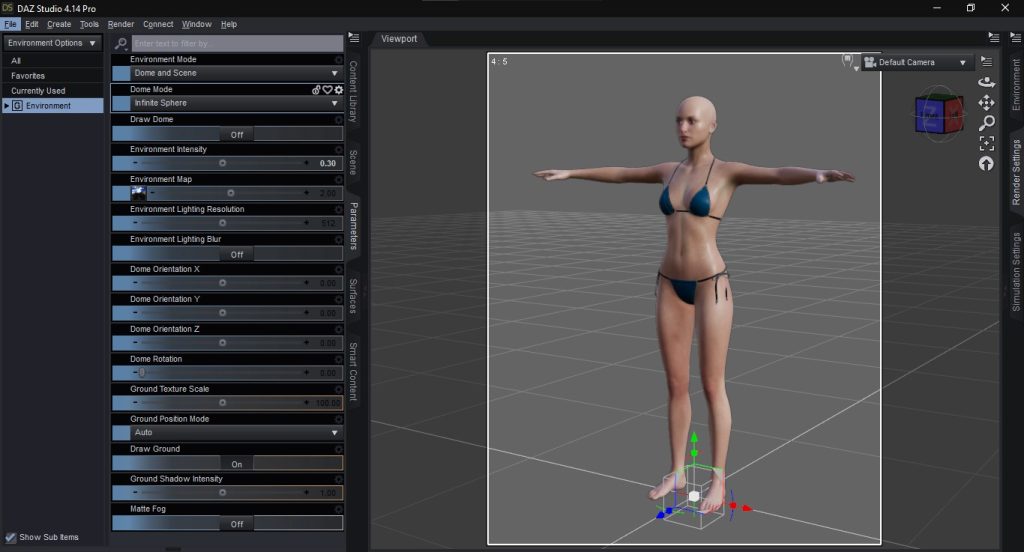
That’s because the default Environment Intensity is much too high for Filament. This might be a bug that’s fixed in future, but in the meantime the easy fix is to go to Create->New Environment Options Node then in the Parameters tab set Environment Intensity to 0.4 or less.


Much better.
Set Environment Intensity to much lower values (0.15 or less) then add Point Lights, Distant Lights or Spotlights, to the scene, move them around and change their Colour and Lumens, seeing in real-time the effect they have. When you’re ready, hit CTRL-R to render and blink in astonishment as your render is done in, well, less than the time it takes to blink.
That’s enough for now. Next time, let’s go through a full scene from start to finish.
Till then!


