One of the goals of many render junkies is to strive toward being able to create as photo-real renders as possible. Even if you’re happy working with the non-photoreal, merrily creating comic style panes or images that are clearly computer generated, it’s well worth knowing how to create something that bit more realistic should the need or desire arise.
The Elite Human Surface Shader for DAZ Studio is one more trick along the way. It sets out to do one thing, and do it well – improve the appearance of skin.
Skin is arguably the most complex texture you’re ever likely to encounter on a daily basis. That’s because skin has depth. Just look at it. Check out the back of your hand, right now. There’s the semi-transparent outer layer, veins, hair, wrinkles, musculature, scars and more, all covering an area…. well, an area no bigger than your hand. Skin catches the light in complex and fascinating ways, causing it to splash across (and beneath) its surface in mathematically intricate ways while multi-coloured shadows pool in the crevasses between joints and curves.
Skin is feckin’ awesome.
Unfortunately, most skin textures for 3D render apps such as DAZ Studio just don’t do it justice. They try (with varying degrees of success) to simulate all that depth and light-and-shadow action in a simple texture with a bump and displacement map (if you’re lucky) providing the detail. Some do a great job, but many fall far short and just don’t behave like skin acts in real life.
That’s where the Elite Human Surface Shader comes in. It sets out to add some of that skin-like behaviour back to any texture. As the name implies, this is a Shader for DAZ Studio (not Poser). While its available for purchase for $17.95, far and away the best way to get it is to download the Stephanie 4 Elite Base for Victoria 4.2 for free – this also includes the complete Human Surface Shader package as well, meaning you’re getting $17.95 of value for absolutely nothing. Can’t get a better deal than that!
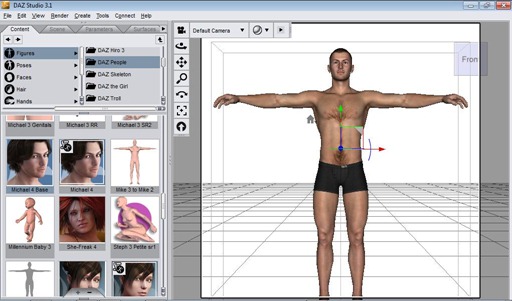
The Elite Human Surface Shader will work with any figures at all (not just the Generation 4 Victoria, Michael and Kids) meaning it’s also a great way to breath new life into the older models too. To show you how it works though, let’s begin by loading in Michael 4.
Head into Figures->DAZ People and double-click Michael 4.
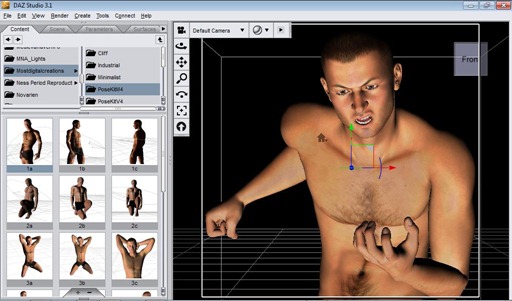
I set the Default Camera’s Focal Length to 180mm to come in real close, choose a Pose for Mickey (this is one from the Freak 4 set) and set the background colour to black for now. Setup simple studio lights (This is Calida Neutral 01, but any is good for now). Hop into Studio3->People->Michael 4->Materials-<M4 Sample-Res and double click !Body_BoxerBriefs and we get this:
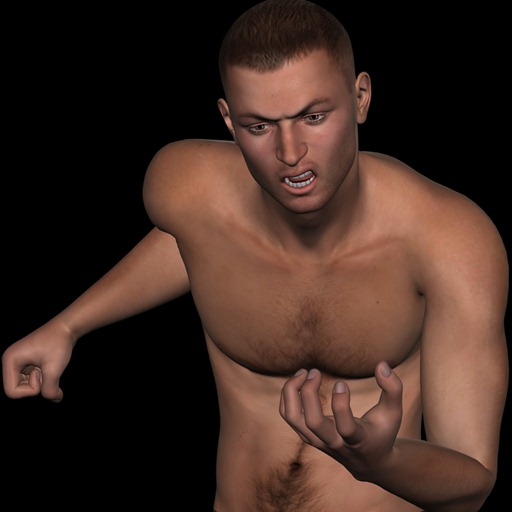
One quick render later, and……
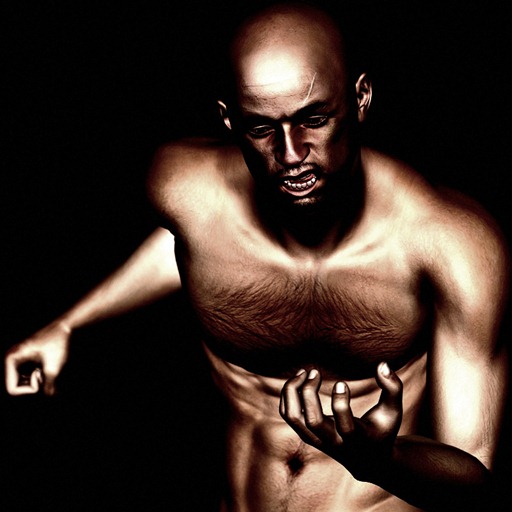
Hmmm. It’s OK, but not great. The Sample Resolution texture that Michael 4 Base comes with isn’t bad (hey, is a huge improvement over Victoria 4’s purple rash!) but it just doesn’t cut it for close-ups. The texture is just too low-resolution…… or is it?
Enter the Elite Human Surface Shader.
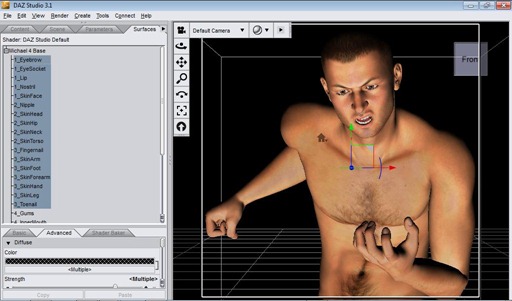
Make sure that Michael 4 is selected then head into the Surfaces tab. Select 3_Toenail then hold down the Shift key and press the Up cursor until you’ve got all of Michael’s skin surfaces selected.
Go to Shaders->omnifreaker->Human Surface and Control-Double-Click the second !Human Surface Base. Make sure that Map Settings are set to Ignore and click Accept.
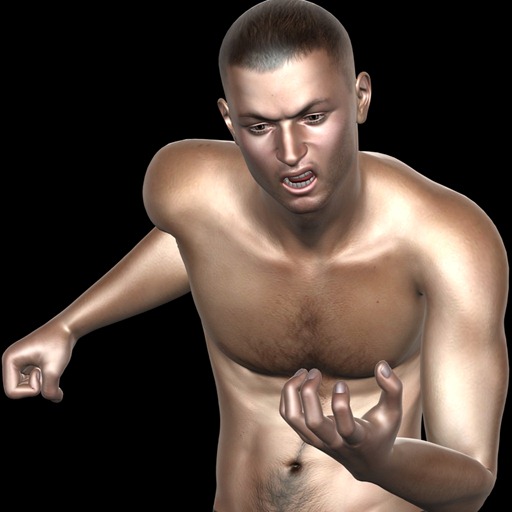
Hit Control-R, and…..
Wow. HUGE difference! To re-iterate, this is the same texture and same lights, but with the Elite Human Surface Shader working its magic. And this is the lowest resolution texture you’re ever likely to use too. Use a better texture as a base, and the results can only improve.
The render above is, of course, far from finished (or very good at all, for that matter). The goal here is to show you what a difference the Human Surface Shader makes, even in a setup as simple as this. What you do with it from here is entirely up to you :D
The Elite Human Surface Shader has yet more tricks up its sleeve. Keeping the same surfaces selected, go into the Surfaces tab and check out the different parameters, all of which can be tweaked to fine-tune for different skin types. The two most important settings are Bump Active and Displacement Active. Set these to ON if the texture you’re using has Bump and/or Displacement Maps. I also tend to enable Fresnel, Velvet (which simulates fine body hair) and sometimes Subsurface Scattering as well (though the effect varies widely from texture to texture), as these improve the general quality of the light hitting the skin overall, and cost little in terms of render time.
Till next time!



I’ve been working with the Maya texture, which comes with the Elite Shader, and while it looks fine pre-render, it’s flat white when it renders. I’ve been trying to figure out why (I really want to use the Maya texture!), but I’m at a loss.
Any clues?
Are you using DAZ Studio 4? If so there’s an update to the Elite Surface Shader you need to download and install. That (if I remember correctly) should fix it.
Hope that helps!
Nup, I’m using D|S 3.1.3.32. I’ve fiddled with the extra settings and I can’t seem to get rid of the “all white” thing. Quite frustrating. :)
I’m using Studio 4.5.0.49 Pro x64 and the omnifreaker that came with the Elite V4 textures (Amy, Lana, Maya, Marie). I had the same problem with the reflective skin MATs. Try the regular MATs instead.
Thank you for the tutorials, Greywulf. I am new to 3D rendering, and currently on a low budget. Do you know of any free alternatives to the Elite Human Surface shader, or something that might help me achieve similar results?
You know what? ;) I bought the shader as soon as it went on sale, so it’s OK. Thank you. :)
Im using daz 4.0 pro i just downloaded the elite surface shader i got as far as hightlighting m4 then whent to the shader but i dont see were the ishader is at pls help
Content Library > DAZ Studio Formats > Shaders > omnifreaker > HumanSurface, second one.
Yeah, it’s pretty hidden. Unfortunately the library search function only works on filenames, not folder names, making it pretty useless.