Welcome to Level Two.
If you’ve been following the tutorials so far, you should be able to find your ways around DAZ Studio pretty well. You know how to drop figures into a scene and add clothing and props. You know how to use textures, apply poses, manipulate the lights and even use Shaders to create anything from Superheroes to high quality line art.
It’s time to turn the heat up a little.
We’re going to look at how to make a good scene great. We’re going to look at realism and how to achieve it. We’re going to find out how to use reflections, transparency, depth of field and more, all in the pursuit of Makin’ Kewl Piccies. So far, I’ve tried to focus on the wealth of available free products that’s out there in renderland. This time around you’ll be pointed to the best value for money non-free products out there too. It’s possible to create downright stunning artwork with very little cash outlay at all provided you know what’s worth buying and what isn’t. I’ll help guide the way.
Photoshop is going to get a workout too as we’ll be looking at how to use postwork to improve your images – and when it’s best to leave well alone.
Watch this (3d) space.

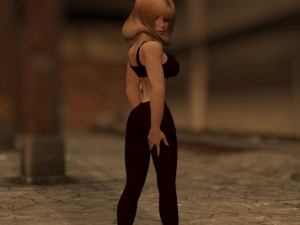
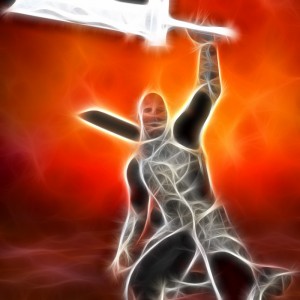

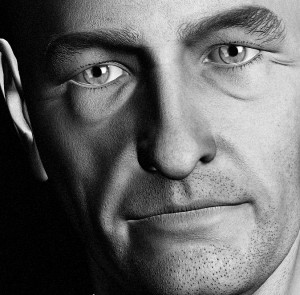

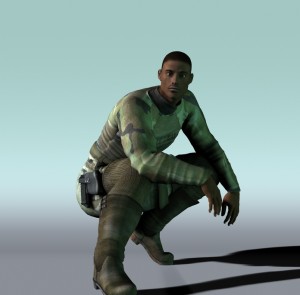
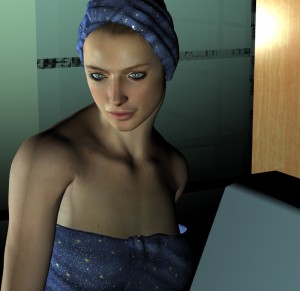
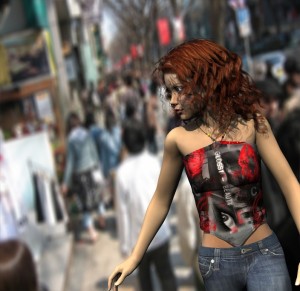



So why don’t you actually TELL us what items you bought for each image?
This is the worst kind of tease– the king where you announce that you have something worth saying but then deliberately withhold it. You are worse than the evening news. I don’t have two months to wait for you to slowly trickle out the valuable information this post hints at. I’m certainly not going to come back to this blog every day, only to be disappointed over and over again while you talk about things completely unrelated.
You got my attention. Now put up or shut up.
Wow. Considering this particular post is only three weeks old, and I’ve so far posted one tutorial (with another on the way) I don’t think you’ve any reason to complain. I do this for fun, y’know.
And that means that go up when they’re done, and not a moment sooner. If you don’t like that, tough.
As to what’s in each image, here’s a quick rundown, from memory:
1. Girl 4 with Stonemason’s Faded Industry
2. Michael 4, Xurge’s Paladin armour and postwork using the Redfield Fractalius plugin for Photoshop
3. V4, Aurelie texture and morph
4. M4, Jepe’s Rodan (I think)
5. M3, Vince Morph, Shadowdancer outfit
6. V4 + Towel Set
7. Aiko 3
The point though is that it’s not the quality of the items (or the size of your runtime folder) that’s important, but what you do with them. Lighting, Depth of Field and composition are what’s important – and that’s what I hope to show in the tutorials.
Oh, and next time you could just, y’know, ask politely…….
Thanks for the detailed info.
I’m sorry I took the tone I did. I actually found your site through google image serach. When I saw the part that said,
“This time around you’ll be pointed to the best value for money non-free products out there too. It’s possible to create downright stunning artwork with very little cash outlay at all provided you know what’s worth buying and what isn’t,”
it gave me the impression that your goal was to hold this information hostage for as long as possible, to get more pageviews or whatever.
Thanks for filling in some of the blanks. I’m glad I was wrong about you. Sorry again for the tone I took. I can be a real asshole when I get frustrated.
No worries :D
If you’re just getting started with DAZ Studio I’ve already written a shedload of tutorials that might help you along the way. They’re all tagged with the word “tutorial”, here: http://greywulf.net/tag/tutorial/. They’re in reverse order, so start from the bottom and work on up.
In those tutes I also point to a load of free content, shaders, etc that are well worth taking the time to download.
Hope that helps!
The next tutorial I’m writing is about how to use Dynamic Cloth, as it’s the latest Big Thing for DAZ Studio and currently taking up a fair chunk of my rendertime. After that I’ll be back on track with a tutorial on how to use lighting effects.
Thanks man. :)
Is it just me, or is there a lot of clutter when you google this stuff? Part of the reason I reacted the way I did was because I’d been googling this topic all day and not finding anything worthwhile. Between the linkrot, the domain parkers, the porn sites, and the people who abuse SEO to collect irrelevant hits, it seems like 95% of the search engine results are noise.
Mostly I just wanted to know how to light a background in Daz Studio so it doesn’t suck. I mean, I can easily make a single character look good, but the exact same lighting rig makes a jail cell or a space station look cheap and fake and wrong. I guess it’s all the large flat surfaces? That’s the only difference I can think of between a room and a Vicky.
One of the things that makes all the difference in the world to backgrounds is making sure you’ve got shadows enabled on the lights. They’re off by default when you load most lights into DAZ Studio (which is good, as it speeds up render time if they’re off).
Turn ’em on by selecting a light in the Scenes tab, then in the Parameters tab set Shadow Type to either Shadow Map or Raytraced. Set Shadow Softness wherever you want – 0% means hard-edged shadows, 100% means they’re extremely soft. I vary between 40% and 70% depending on whether I want a harder or softer look to the final render.
Only add shadows to one or two lights, and and preferably only spotlights. As a rule I use Raytraced shadows if it’s a single light, or Shadow Map if there’s more than one. Depends on my mood, really.
Beyond that, a single (non-shadowy) Distant Light can help brighten up a background no end. I’ll dig out a couple of links to some great free lightsets for you too.
If you don’t mind throwing some cash then both uberEnvironment and Light Dome Pro are well worth the money. I use both, regularly.