This time, I’m going to let you into DAZ Studio’s best kept secret. Shaders.
Begin technical bit from the DAZ Studio manual. Look away now!
Each material in your scene also a shader attached to it, regardless of whether you use the advanced properties or not. Shaders (or programmable shaders) can consist of numerous channels that are often more advanced and offer more realistic results when compared to basic materials. Shaders are usually configured specifically for the render engine used in your 3D software. DAZ Studio uses the 3Delight rendering engine, which is RenderMan(R)-compliant and which supports programmable shaders. You can create basic or advanced shaders in the Surfaces Tab. When you render your scene, the rendering engine calculates all of the components in your materials to arrive at values for each channel.
Then it calculates how each channel affects the final appearance of the object’s surface.
End technical bit. Ok. You can look again. HEY! OVER HERE!
What all that means is that a Shader (beyond the default Shader) is something which can either make an existing texture look even better, or replace it entirely, and look even better. Either way, Shaders are the thing which lifts DAZ Studio from being a program that can make brilliant photo-real renders to being a program that can make photo-real renders, or pencil drawings, or manga, or airbrushed images, or classic ’70s comic art, or pop art, or….. well, anything, really. What’s more, because Shaders are applied to surfaces (just like recolouring), you can have multiple Shaders in a single image, or even on a single object.
One quick word of warning before we get started: Using Shaders increases your render time because they add an additional layer of complexity to each surface. It’s a small price to pay for having a single app that can do at render-time what usually requires hours in Photoshop to achieve. Grab a coffee and let DAZ Studio do all the work!
First, you need some Shaders. Well, duh. They come in two varieties: free, and not free. Well, duh again. Here’s three sets of free ones I use and love above all others: the Super Shiny Shaders, Noir Shaders and Joelegecko’s Shaders. Download those, unzip and copy them over to your Program Files\DAZ\Studio\content folder. Of the non-free ones, pwToon and pwSketch are worth their weight in gold. They sometimes come up on Sale, so watch out for when they do. Here’s a whistle-stop overview of all five packs.
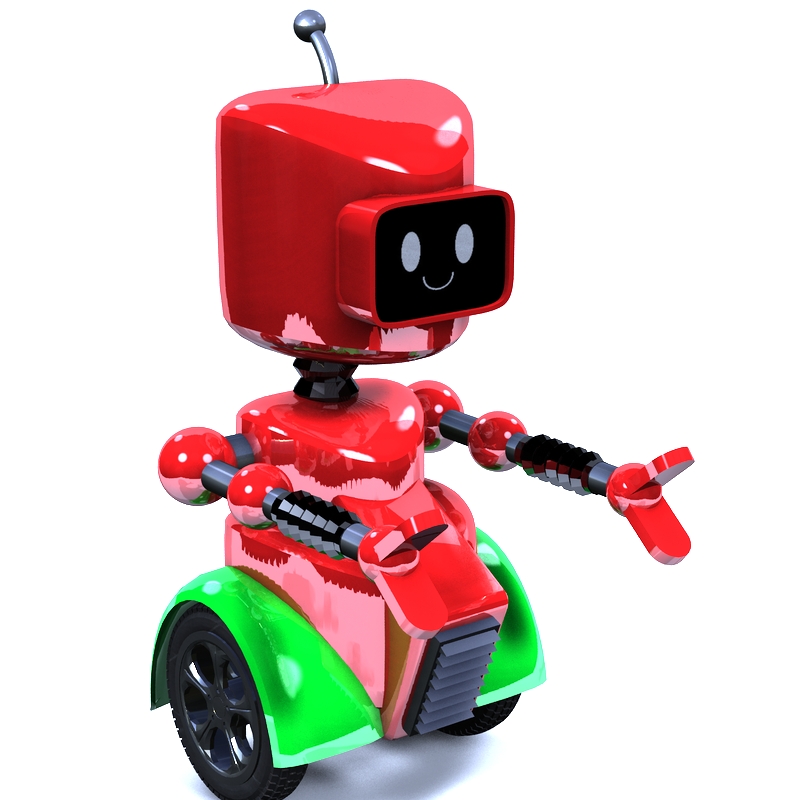
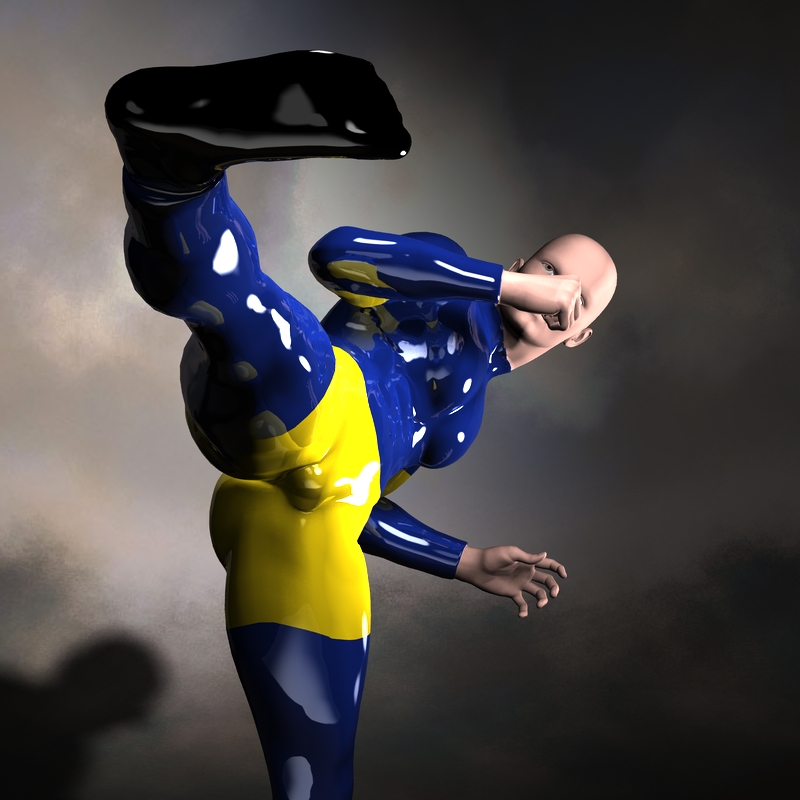
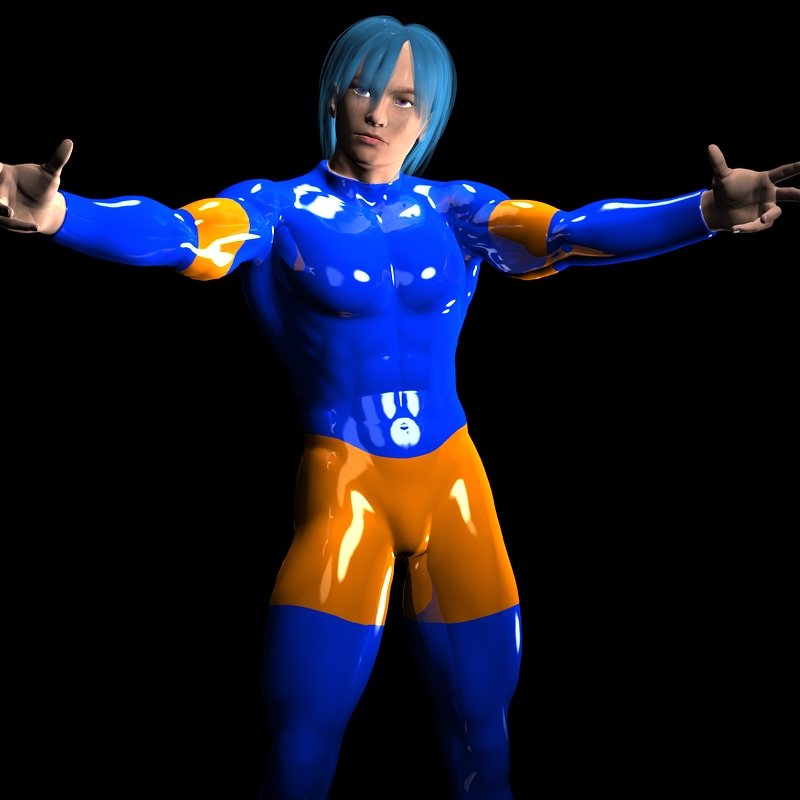
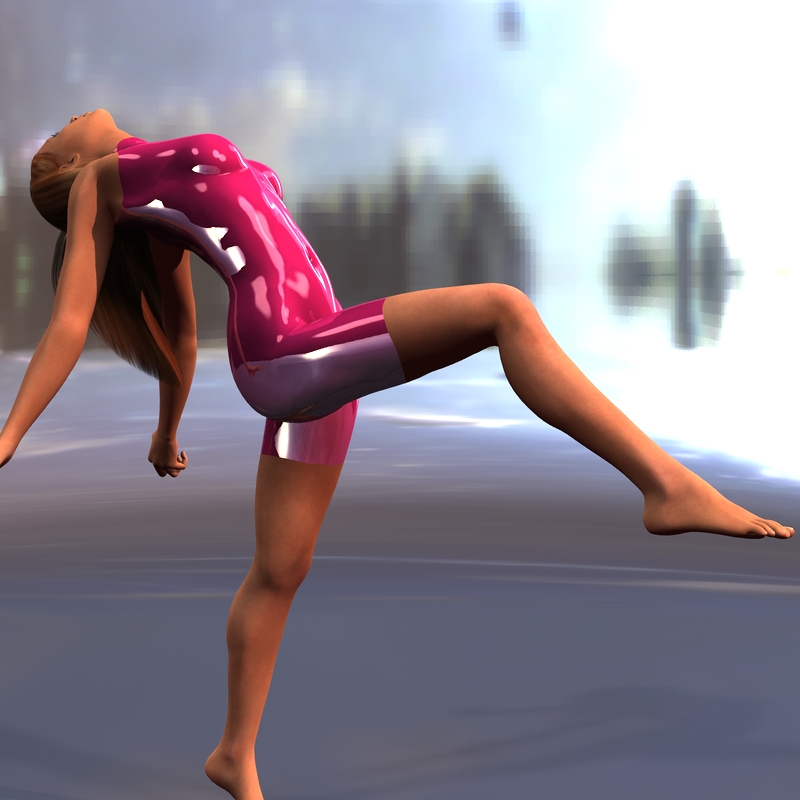
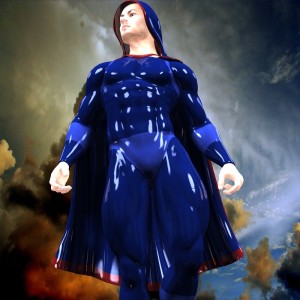
Super Shiny Shaders: They’re Super. They’re Shiny. They’re Super Shiny!
See what I mean?
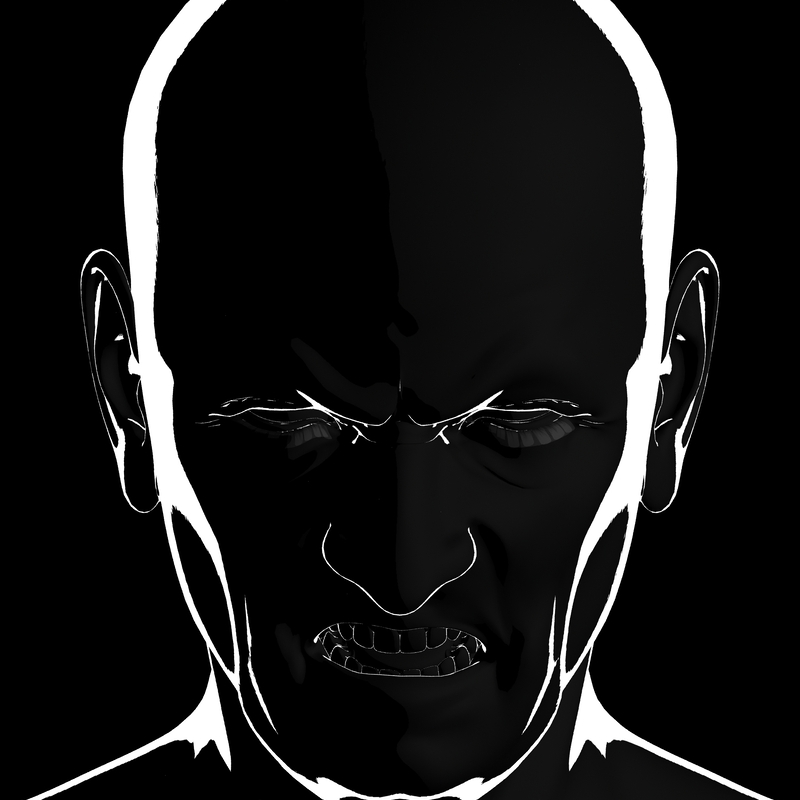
Noir Shaders: High Contrast, sharp tones perfect for grim-n-gritty Sin City style images in either colour or monochrome.
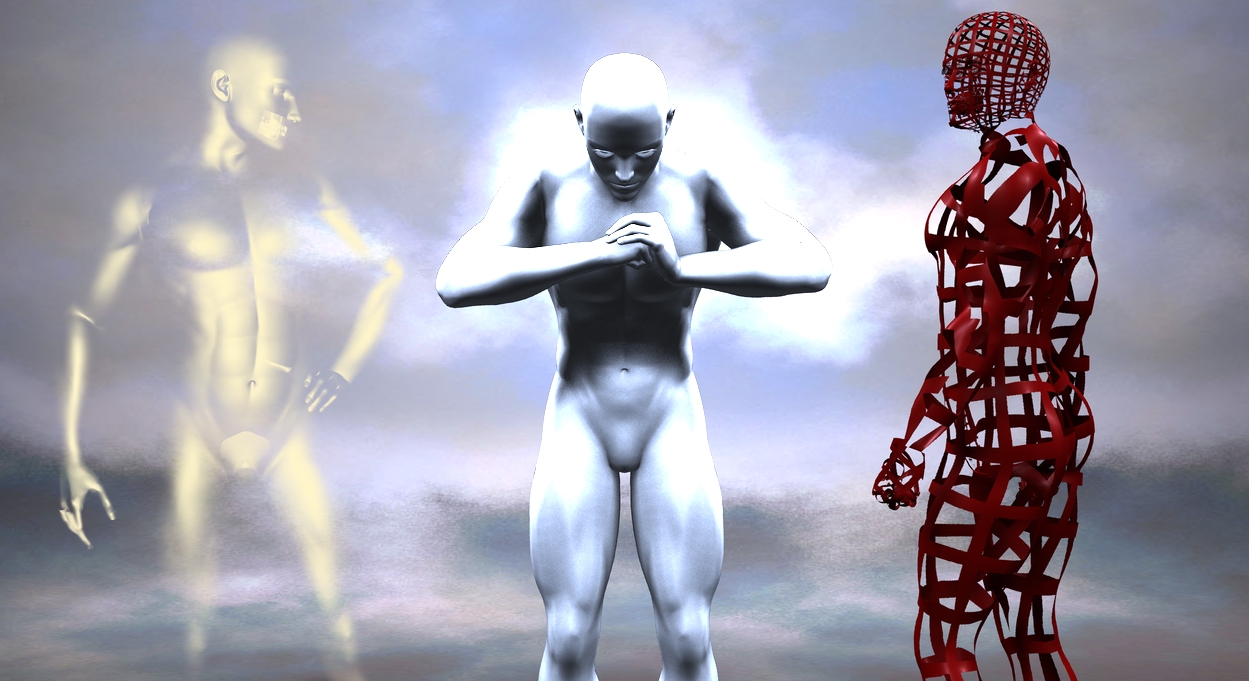
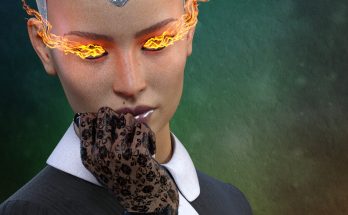
Joelegecko’s Shaders: A vast collection that covers everything from simple toon-style Shaders to complex ghost, glowing and semi-tranparent ones. Some of these Shaders are more effective than others, but the pack as a whole is hard to beat
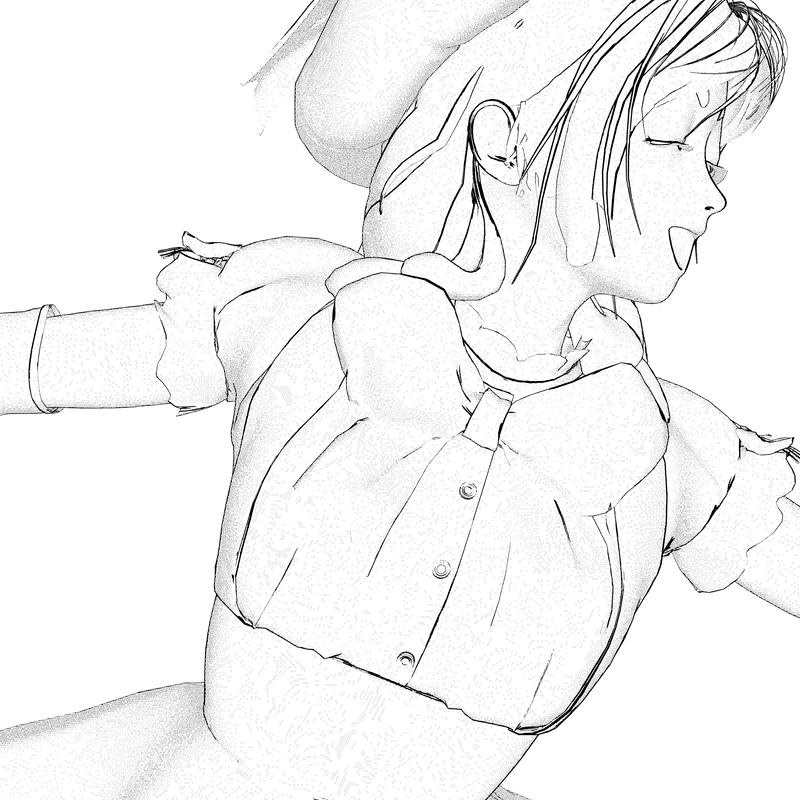
pwToon: Shaders to cover many style of comicbook illustration from cell shaded to manga, and everything in between. If you want to make comicbook style images, this is the pack you need
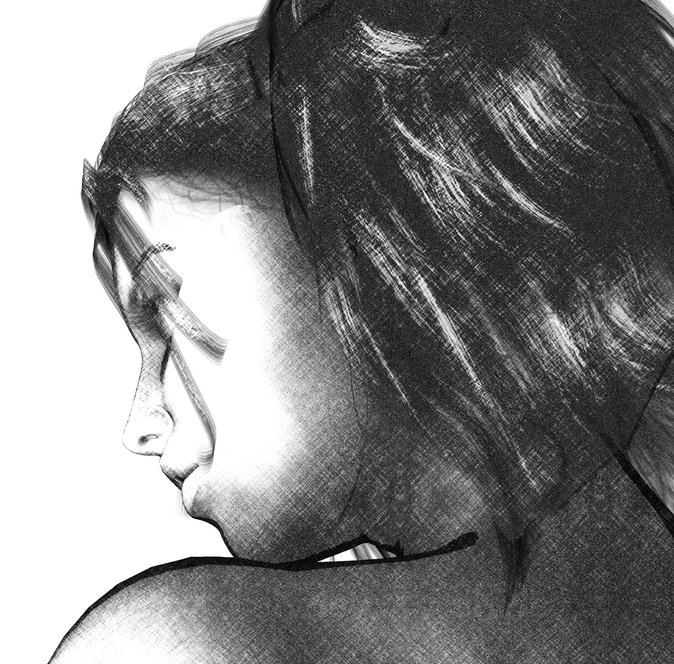
pwSketch: One of my favourites, offering pencil and charcoal Shaders meaning you can create sketch illustrations – in a frickin’ 3d render app!
For now, grab the Super Shiny Shaders right now as that’s what we’re going to use. All of the other Shaders work the same way – select the object and surface, then double click the Shader to apply it.
The key thing to remember about using Shaders is that you must have the object selected in the Scenes tab and the surfaces selected you want to shade within the Surface tab. If you don’t have the object selected or the surface selected, applying them won’t work. Select the object and the surface. Got that? Good!
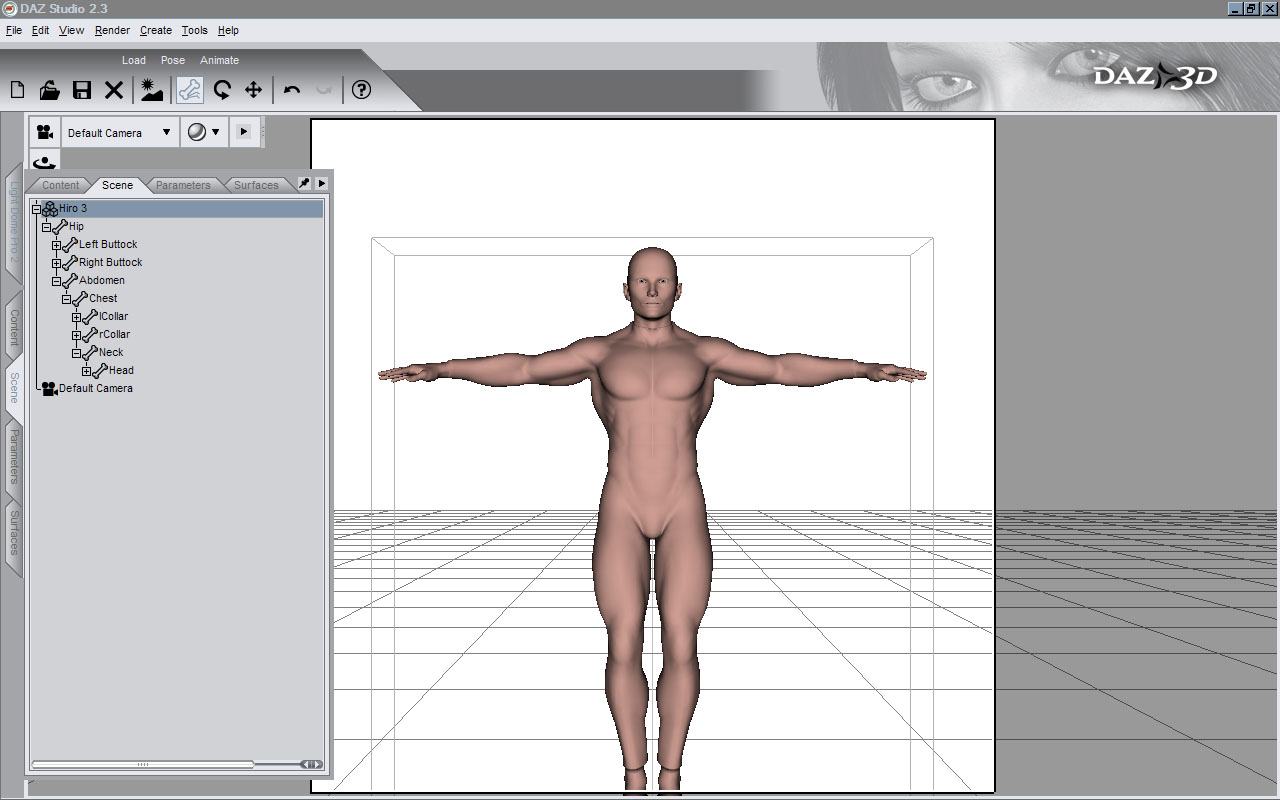
Fire up DAZ Studio and load Hiro 3 (Figures->DAZ Hiro 3). Make sure he’s selected in the Scenes tab then hop over to the Parameters tab. Oooo! Morphs! Lots of them! Set the following to 1: Realistic, Muscular, NavelGone, AnkleSpandex, NeckSpandex, WristSpandex and FootSock. Then select the Head in the Scenes tab (drilling down through the rest of his body to get there), and set that to 100% HdRealistic and 100% HdCaucasian as well. While you’re there, check out all of the lovely Head morphs too. Sheesh. I’m such a Morph Geek.
Re-select all of Hiro 3 in the Scenes tab and you should have something looking like this.
Time for some fun.
In the Surfaces tab, select the Nipples and CTRL-click SkinForearm, SkinKnee, SkinShin, SkinThigh and SkinTorso. In the Content tab go to Studio->Shaders->SuperShine and pick a pretty colour. Back in the Surfaces tab select SkinArm and SkinHip then head back to the Content tab and pick another pretty colour. If you want, select the feet and hands to add gloves. Select the eyes and make ’em Gold. Whatever.
Add a Pose (Pose->!DAZ Hiro 3) and some lights, adjust the camera to taste, and render.
Go wow. Ok, wait a while. Then go wow.
If you want to add Hair, Hiro 3 takes exactly the same hair as Aiko, so use the existing Hair in your collection and it’ll fit just fine; just remember to use the Realistic-fit Hair if you’re using the Realistic head morph otherwise it looks… well, big.
I’ll repeat again: any Shader can be applied to anything, whether it’s a figure, clothing or everything in the scene. Sometimes there’s no need to use them at all, but other times they can make or break a image. Use them wisely, young Jedi.
I think that’s quite enough Super Shiny for now. As ever, click to enlarge any image.
Next time: Lights!



Awesome tut! Thanks for sharing! (If I told you how long it took me to realise that I needed to select both the object and the surface to apply a shader … well, that’s why I haven’t used DAZ Studio much in the past … I did finally figure it out ;) ) Now I need to go read your other 7 parts!!
Leonis last blog post..A Saturday morning photo journal
@Leoni Happy to oblige and welcome aboard :D
A couple questions:
1) How do you get rid of the funny purple rash on Victoria? Surfaces?
2) Can you recommend an inexpensive (or free) starter pack of clothing? I’m still trying to figure out if this is something I want to use much… and the clothing that I have available (a couple things for Victoria that don’t work with the male morphs and the anime suit for aiko) isn’t all that inspiring.
Stuarts last blog post..Gaming, the year in review: Best and worst
@Stuart Yeh, that purple rash is ugly, isn’t it. She ought to get some cream for that.
With Victoria selected, head over to Poses->DAZ’s Victoria 4->MATerials Sample-Res and double click on !All_Natural_NG_QS. Done! For a free, low resolution texture it’s not bad. No nipples though, which looks…. odd. There’s no shortage of alternate, higher-resolution textures available though. DAZ3d, of course, has many for sale, but the free ones at sharecg.com are also worth a look. Just download, unzip and copy to your DAZ Studio/content folder.
Search for Victoria 4 Characters. Take a look at these: Sara and Naeima.
When it comes to freebie clothes, sharecg.com and Renderosity’s Freebies (direct link to V4 clothing freebies) are the place to be.
Hope that’s enough to get you started :D
Thanks!
Stuarts last blog post..Help a child. Get a gaming tool.
thank you thank you this has been bugging me for weeks I got the extraordinary figure pack with a big shiny silver v4 I was not impressed when it didn’t look right now I hope it will thanks again.
Happy to oblige!
Thanks SHADER GOD. Sweet tutorial!!!
Ok so I’ve been scouring the web for any info on how to MAKE my own shaders, but apparently this is a secret most vendors are keeping close to their chests? Any idea on how to make a simple snow shader so I can add a bit of flavour to my scenes Greywolf?
I will be looking at how to create your own shaders in an upcoming tutorial. Watch this space!