We’ve looked at how to download and install DAZ Studio (Day One), customize the interface and how to get started (Day Two) and how to set up the camera and add lights (Day Three). Now it’s time to get down and dirty with the Parameters. Oh yeh.
One of the most off-putting things about many 3d rendering applications is that their interfaces are a gawd-awful mess of widgets, dials, random icons and look like the twisted love-child of the 747 cockpit and a Star Trek console. DAZ Studio does away with all that, especially with my patented blank-screen content focused layout.
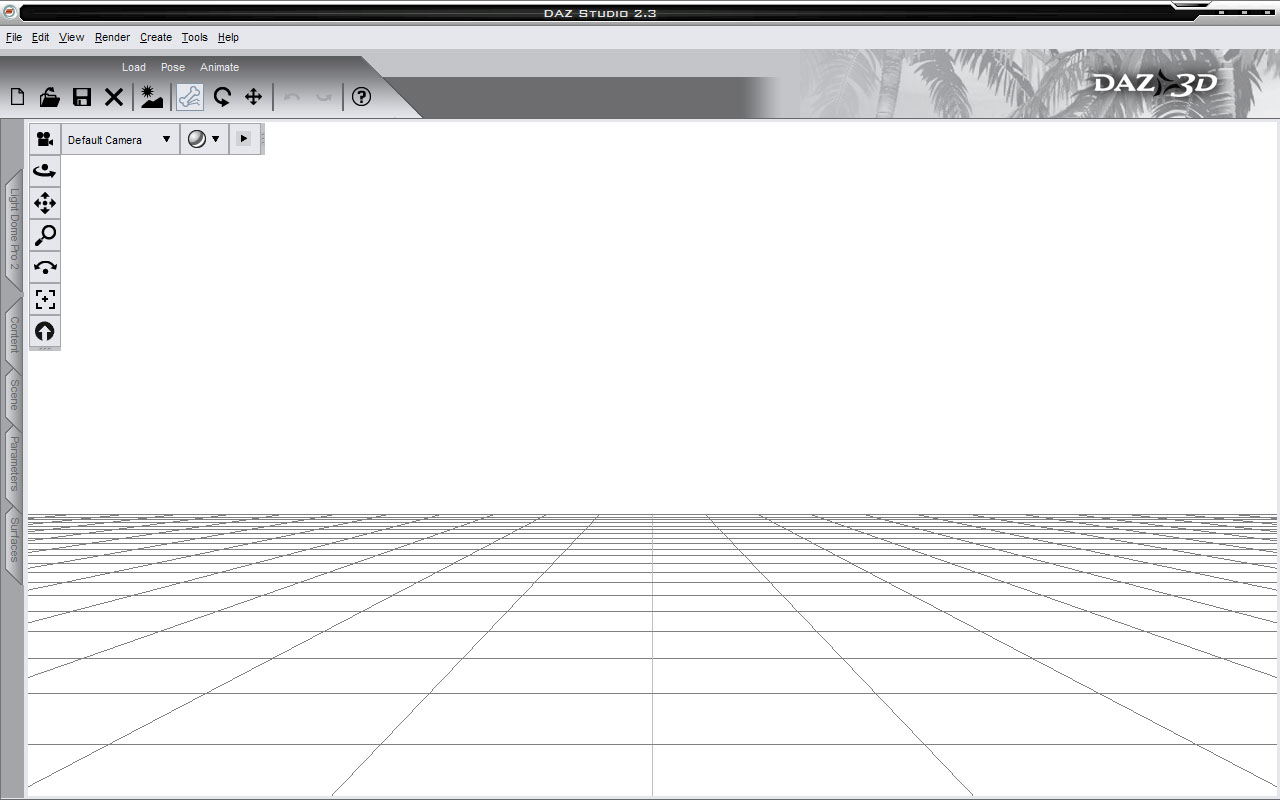
A clean empty workspace just waiting to be filled with dragons. Or anything else, really.
There still needs to be some way of manipulating the objects, cameras and lights though, and using numbers is a Very Good Way to do it because that makes it simple to move, scale or rotate things with as much (or as little) precision as you need. Rather than overwhelming you with intimidating GUI design, DAZ Studio sticks all (well, most) of that stuff into just one Parameters tab.
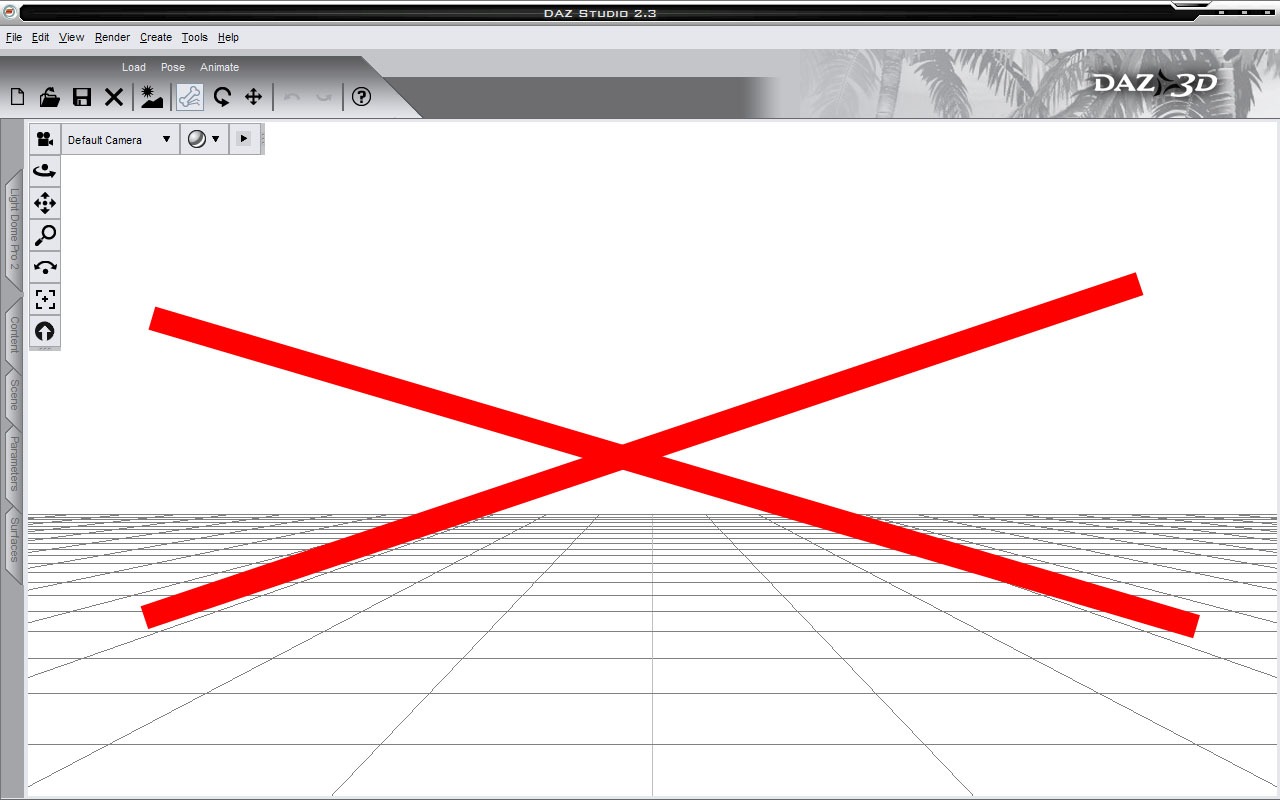
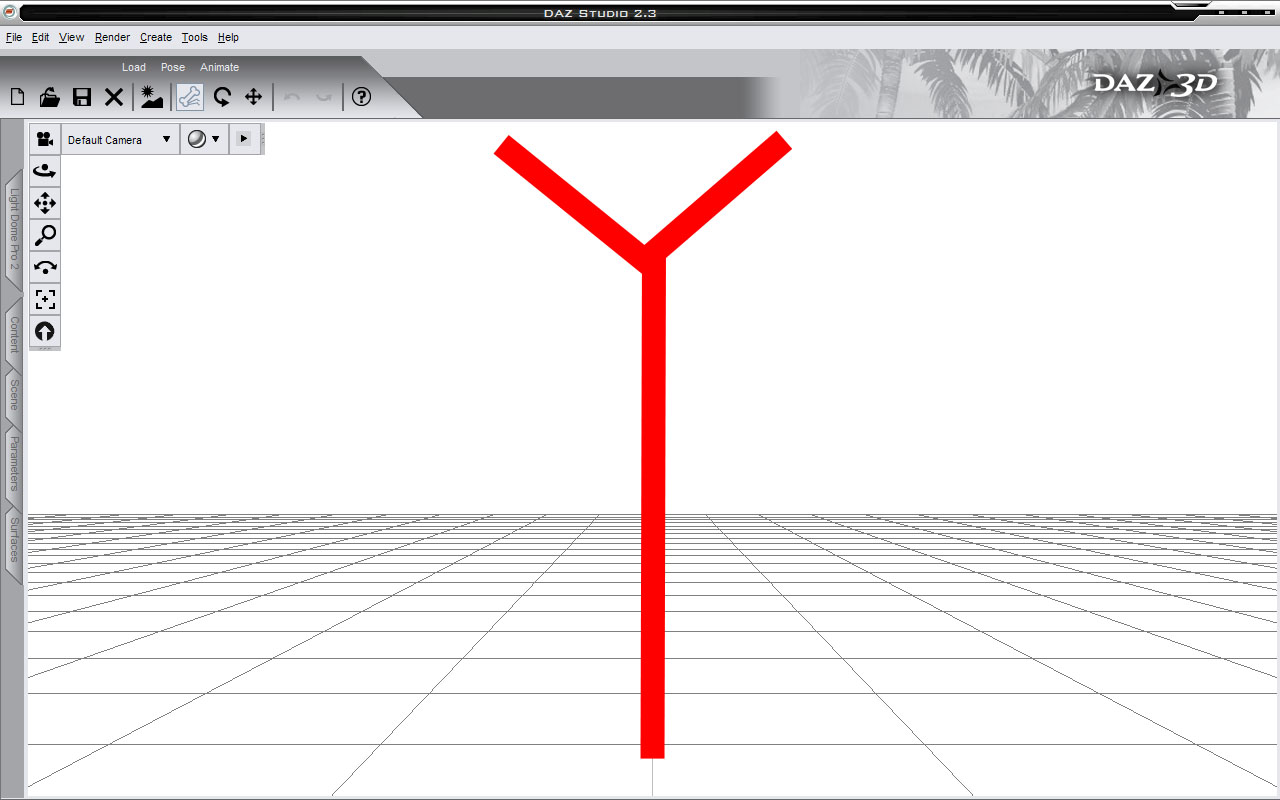
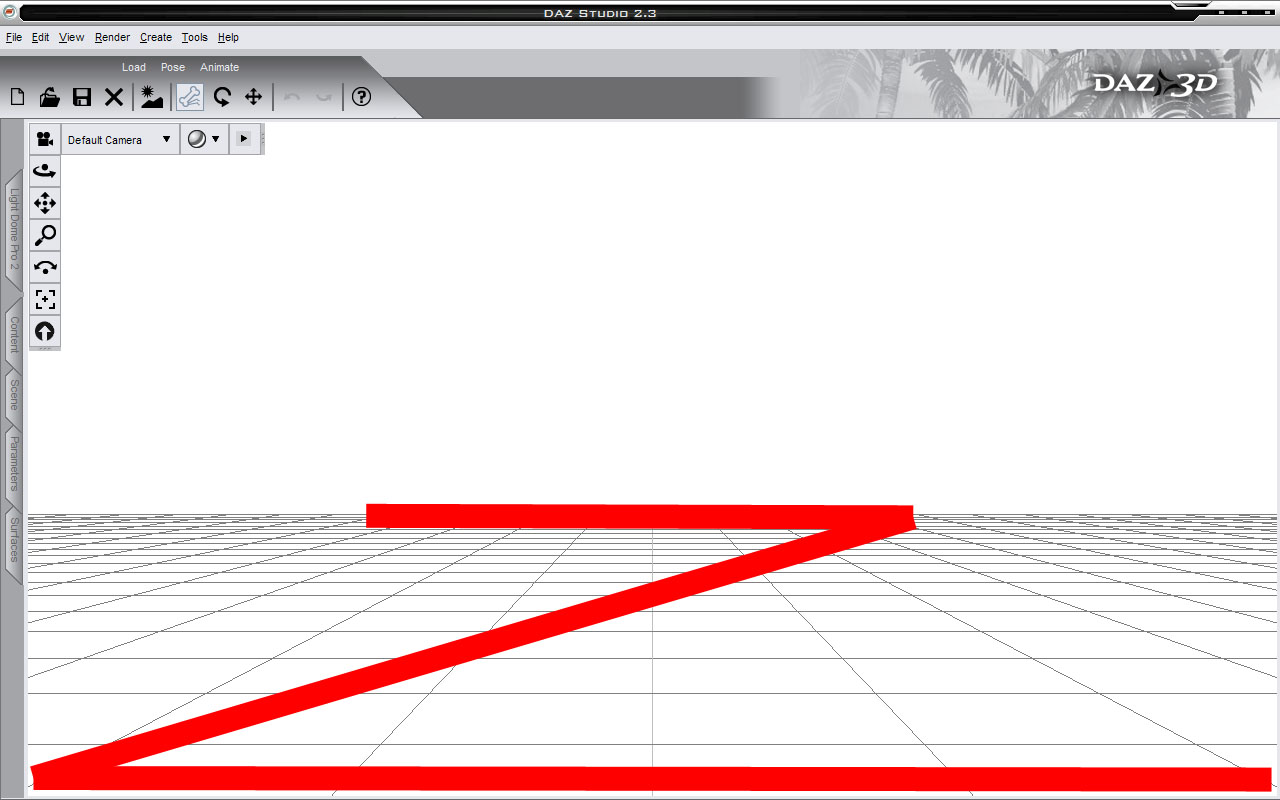
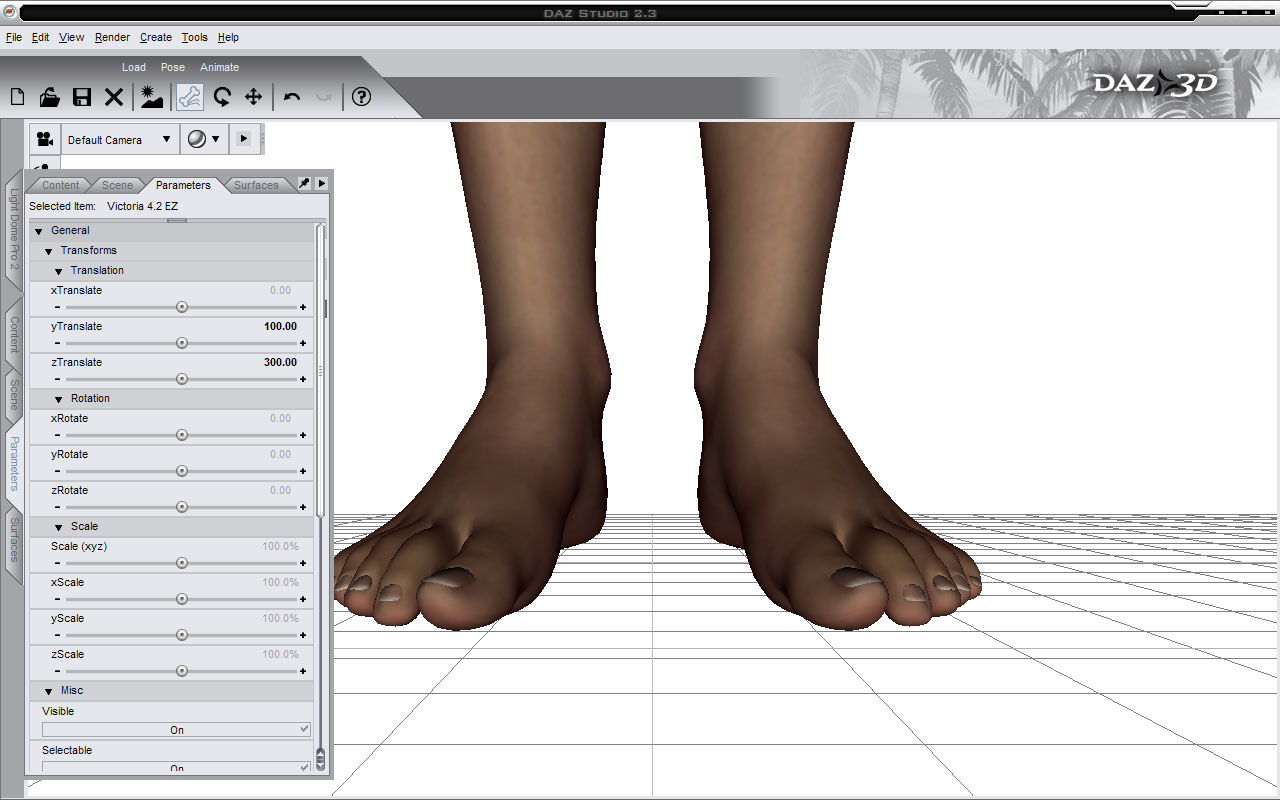
But first, it’s important to understand what DAZ means by X, Y and Z. A few screenshots should help.
So, from the perspective of the default camera, X is left to right, Y is up and down and Z is backwards and forwards. Got that? Good!
Go to Content->Figures->DAZ People and double click Victoria 4. We’re going to take a look at Michael 4 too another day, so if you haven’t downloaded him yet (free!) head over to DAZ 3D and grab Michael 4 Base here. I’ll wait.
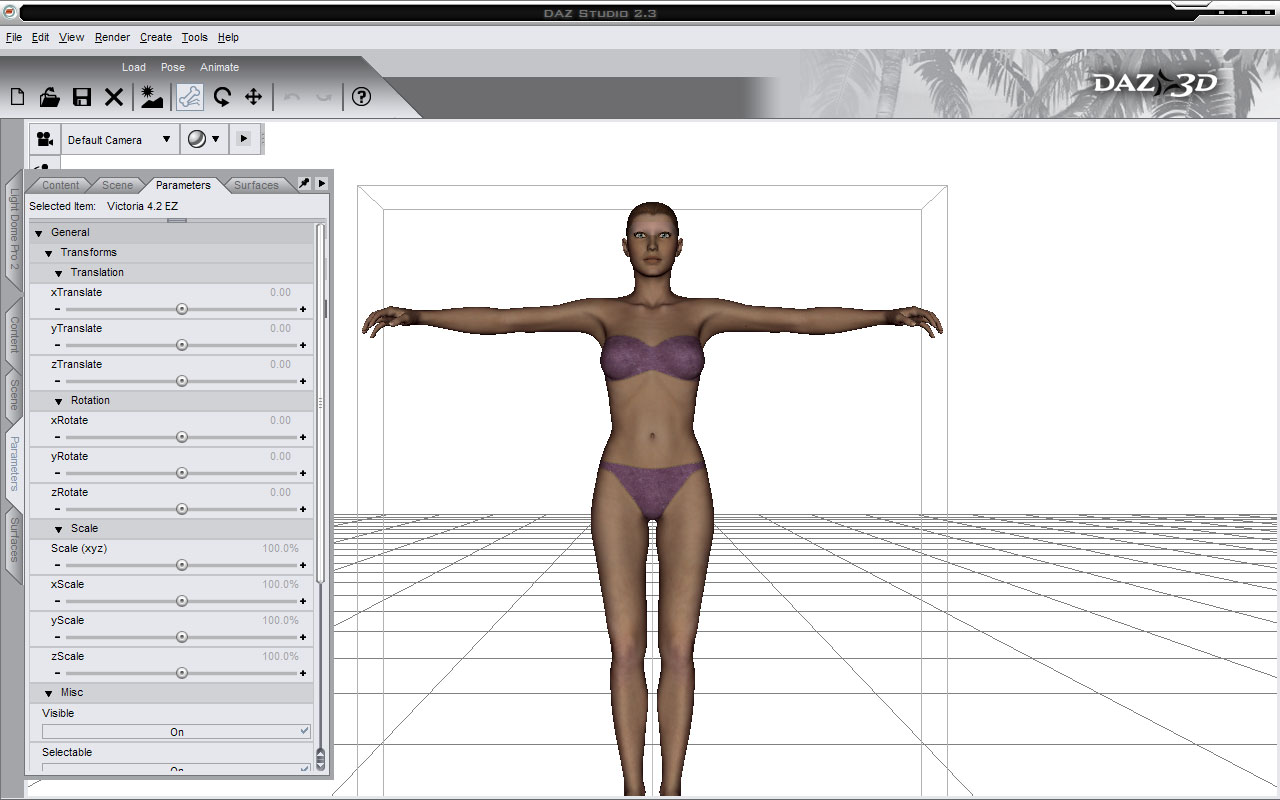
With Vicky loaded and selected (you should see a wireframe cube around here. If not, go to the Scenes tab and click on her), head over the the Parameters tab.
The Parameters tab is split into a few sections. The first part (General) contains dials for moving, rotating and scaling the selected object, and the vast majority of items will have these dials.
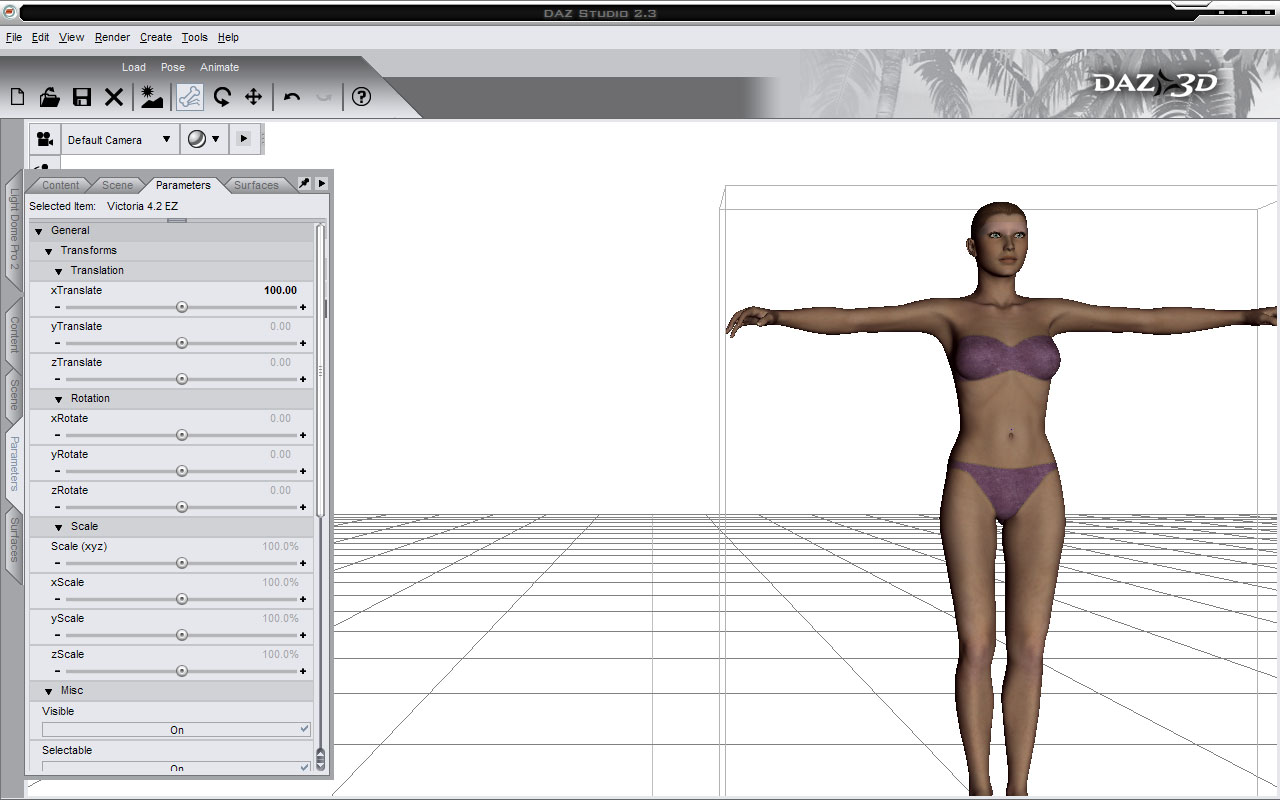
Translation deals with movement with XTranslate moving the object left or right, YTranslate taking it up or down and ZTranslate…. you’re ahead of me. See that grid which marks where the floor goes? Each one of those squares is divided into 100, so entering 100 in the XTranslate box (or using the slider dial below – either is good) will shift Vicky one square right.
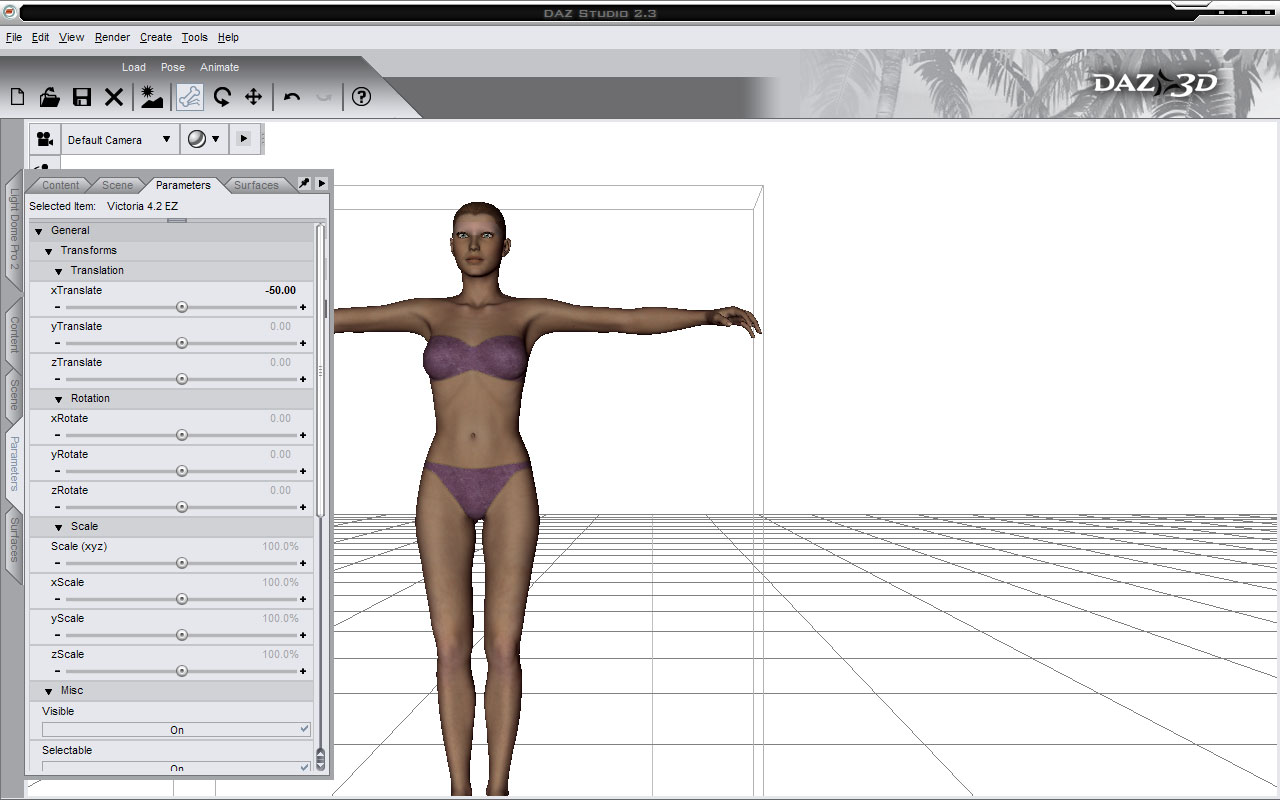
Likewise, entering -50 will shift her half a square left.
YTranslate and ZTranslate work exactly the same way. Want Vicky to fly? Put 200 in the YTranslate box, or half-bury her with -60. ZTranslate will move her closer with a positive number, or further away with a negative one.
You’re not restricted to using numbers that divide by ten, of course, or even whole numbers. You’ve got fine control down to 2 decimal places, or a ten-thousand’th of a square. That’s pretty darned precise – perfect when you’re trying to get fingers to look just right around a glass, for example.
Below Translation is Rotation, and by far the most useful one of these is yRotate. Imagine you’ve put a pin through Vicky top-to-bottom (the Y axis) and are rotating it. That’s yRotate in action. Both xRotate and zRotate work in the same fashion with the “rotating pin” coming from the side or front-back.
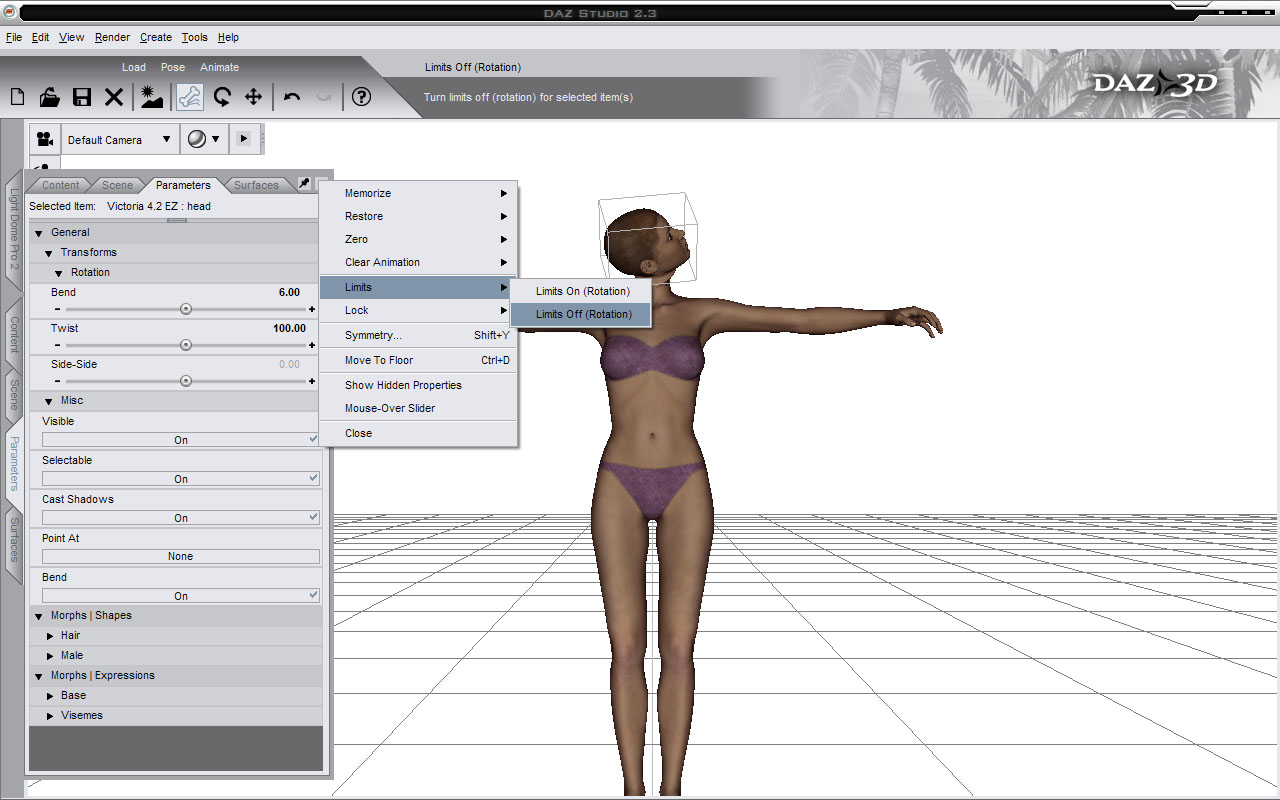
Here’s a quick example. Go to the Scenes tab and click on the little + marks until you reveal Vicky’s Head. Select that, then go back to the Parameters dial.
The names have changed from x, y and z Rotate to Bend, Twist and Side-Side, but they still work the same. Set Bend to 6 and Twist to 12 and Vicky is all set for her head-shot. Try twisting poor Vicky’s head 180 degrees round and you’ll find you can’t – there’s limits on the models that reflect physical limitations. Want to ignore them? Click the little triangle in the top-right corner of the tab box and select Limits->Limits Off. Generally speaking though, you’ll want to keep them on. But it’s good to know that laws of nature are there to be broken, eh?
Finally under the General section we’ve got Scale. You can’t (by default – ticking Show Hidden Properties changes that) alter the scale of Vicky’s head but you can change her scale overall. Just select her in the Scenes tab again then rescale any way you want. Scale (xyz) scales the entire figure equally in all dimensions while xScale, yScale and zScale increase or decrease just one dimension at a time. Scaling is most useful when adjusting clothing that doesn’t quite fit a figure – sometimes just changing the zScale to 105%, for example, pads out the outfit just where it’s needed.
That’ll do for now. Next time: Exploring the other Parameters!




Request for new DAZ example:
Go here: http://thegamerdome.com/fiction-excerpt-three-hench/#comment-1448, read the goblin story…
OK, all done? Now, this scene:
As it happened, they had tumbled right in front of the evil master’s door, and he had overheard their conversation after being awoken from his nap by the racket. “What exactly,” he said, lingering on those words menacingly, “is it you have to tell me that would get you into trouble?”
“Oh evil master, nothing to make you mad,” Snit groveled from his knees. “I have such very good news for you, and then he has some minor bad news for you after that.” He pointed to his young protégé, who was so enraptured by the evil master’s presence that all he could manage was to reach in his pocket and offer up the gooey spit he’d saved from the lesson.
That would be my background image, for sure! Please, please please… :D :D
Thanks!
Hope you had a good birthday.
Stuarts last blog post..Episodic Powers
@Chgowiz I’ll add it to my request list :D
@Stuart Yes I did, thanks!
The part about the grids was wonderful! Yes, I am a beginner but still…
Thanks! I’m glad to be of help.