Last time I showed you how to download DAZ Studio, and install content from DAZ 3D. This time around we’re going to learn how to customize the interface, and actually get down to some real, honest rendering!
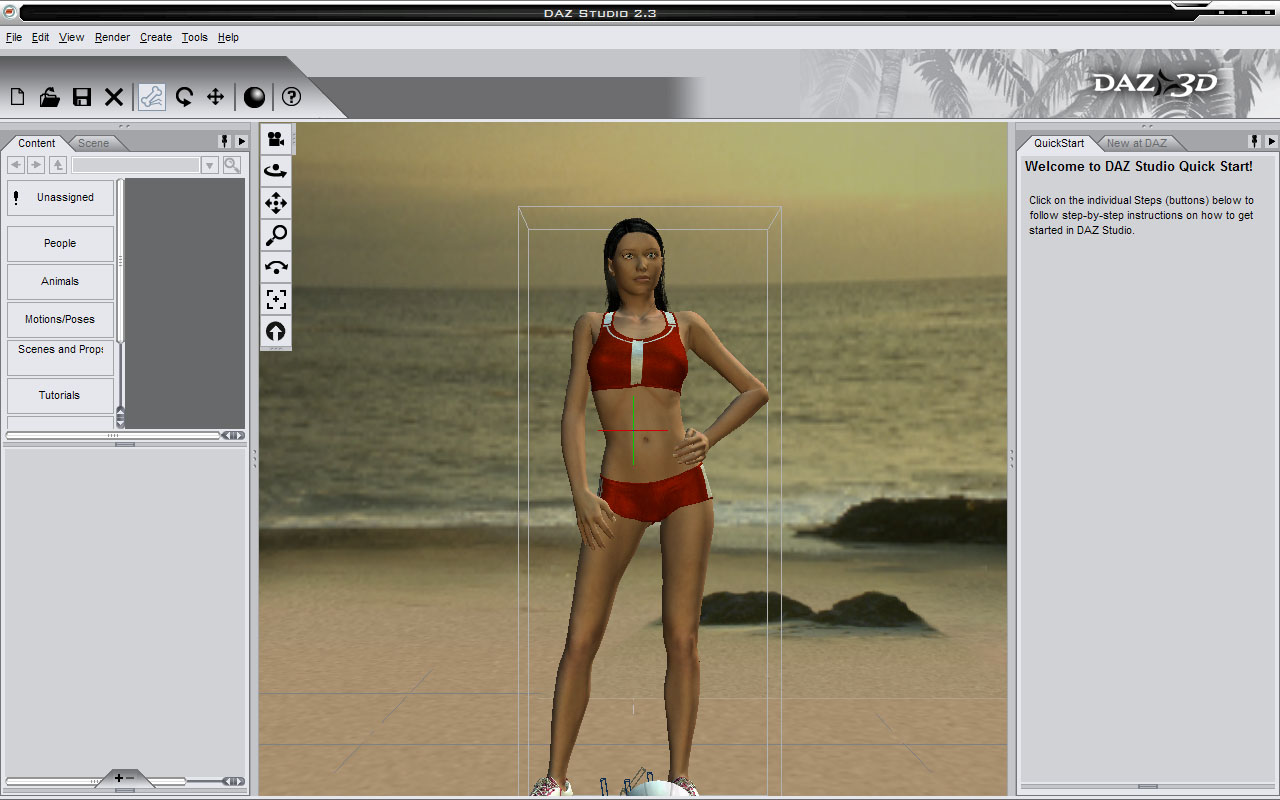
Fire up DAZ Studio, and by default you’re presented with a lovely picture of Victoria 4.2 relaxing on the beach.
That’s all well and good, but sure gets boring quickly when what you want to do is create renders of your very own. Thankfully we can change things so that DAZ always starts with a blank scene. To do that, go to Edit->Preferences->Scene and set Default Scene and Default Scene on “New” both to None. Hit Accept and your Vicky-on-the-beach is gone for good (sorry, Vicky). Incidentally, those options are great if you regularly begin with a pre-set collection of props and light setup, but we’ll keep with None for now.
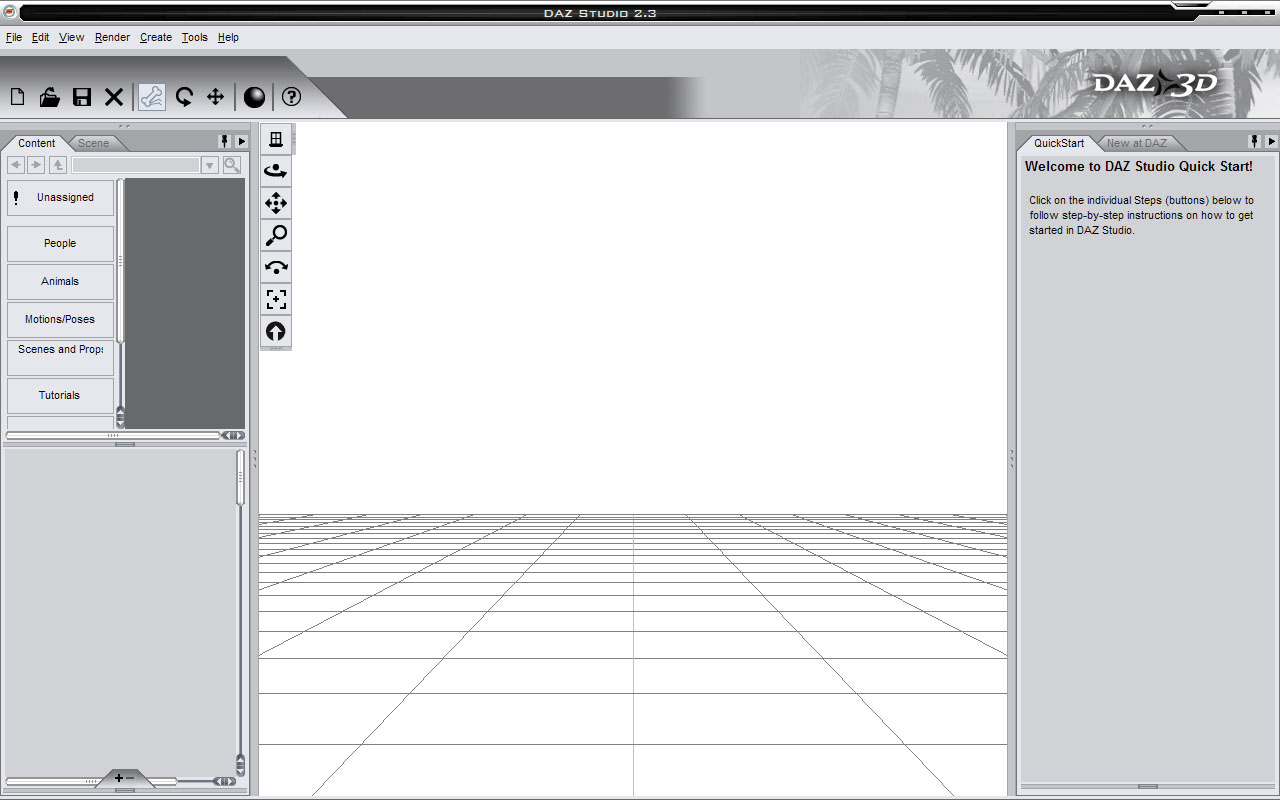
Hit CTRL-N to start a new scene and you should be presented with a clean slate:
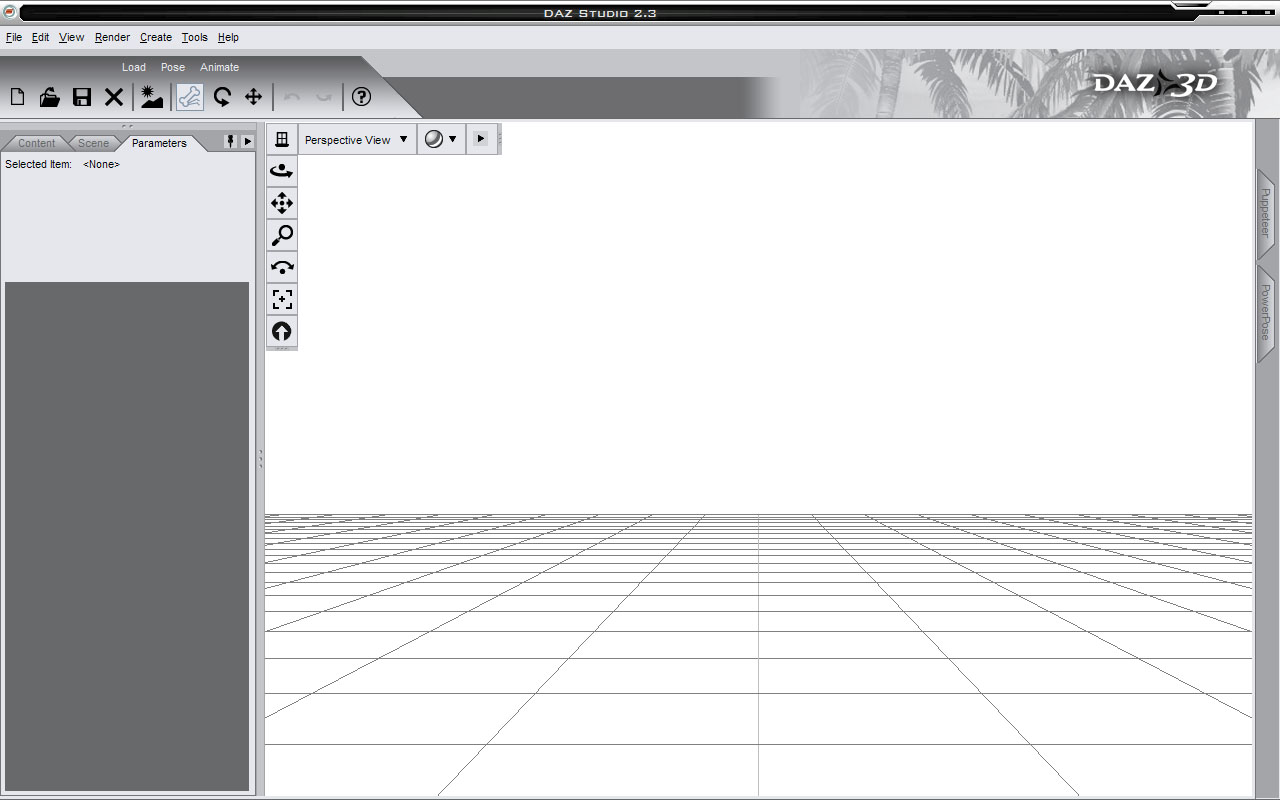
The centre of the sceen is your rendering workspace with the “floor” marked with invisible (ie, they don’t appear in renders) gridlines. That’s where any models you load into a scene appear. Around the edge are a series of tabbed boxes marked “Content”, “Scene”, Quick Start”, “New at DAZ”, etc. Click on ’em and their contents come to the top. They’re taking up an awful lot of space right now, so we’re going to remove some and juggle the rest around in a moment. But first………..
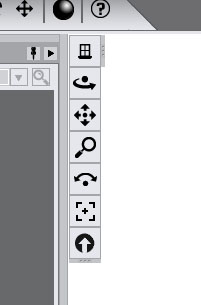
See that little row of vertical icons in the top left-hand corner of the workspace?
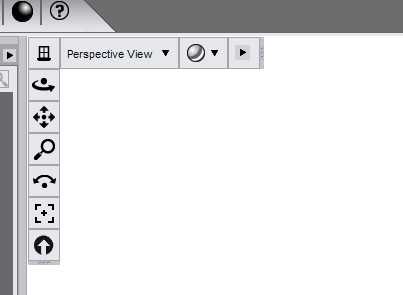
These control the current camera – but some of the buttons are hiding! Click the thin line against the righthand side of the topmost icon, and……….
More buttons appear! Just what you need! These are important though as they allow you to switch camera view, change the way objects appear on screen and (if you press the right-hand triangle) change the background colour. Oh, the power.
Go to View->Interface Layout->Select Layout and choose “2nd Level” from the dialog box at the top. Hit Accept and the layout changes. DAZ Studio lets you customize the overall look and style (View->Interface Style->Select Style) to suit your preferences, and as you learn more about the program your needs will doubtless change. For now, I’m going to walk through how my layout is set up, so that you’re comfortable with the idea of tailoring the interface.
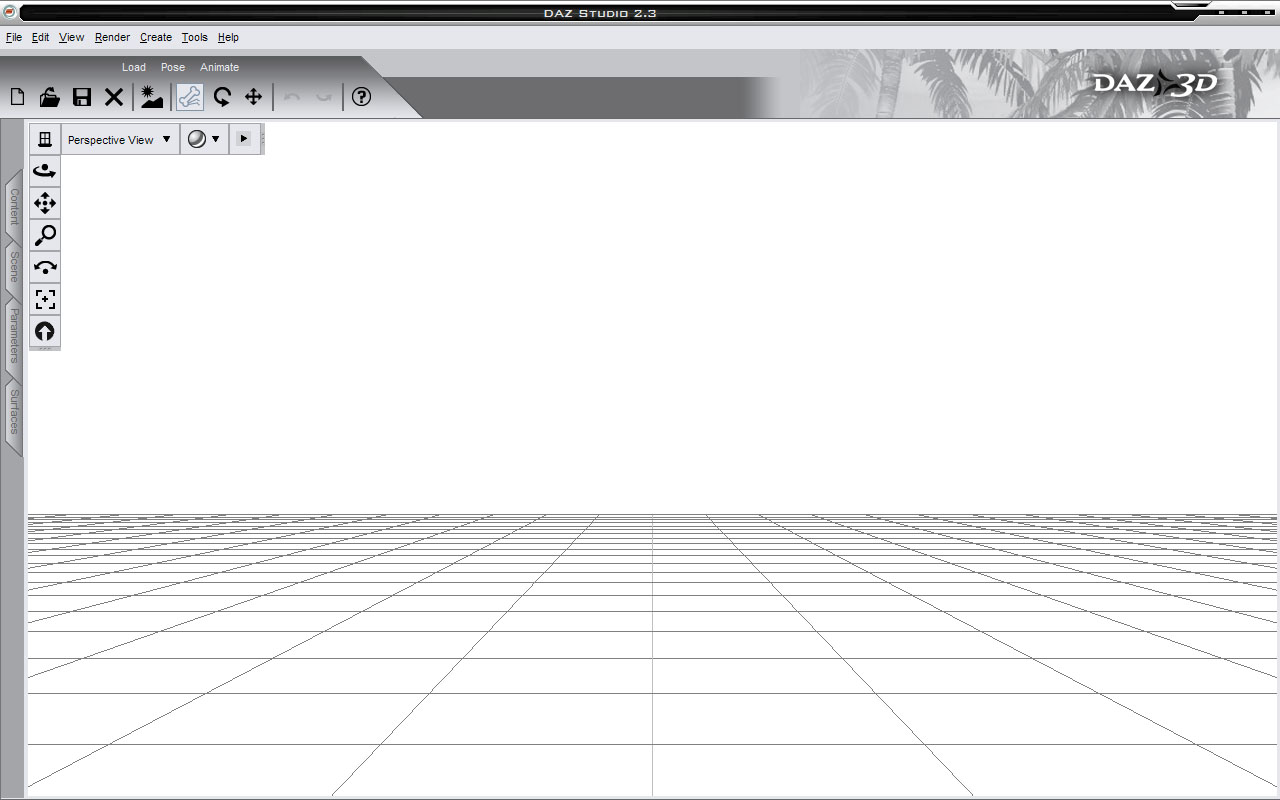
With the “2nd Level” layout selected, click and hold the tab marked Parameters, and drag it across to join the tabs on the left. You should end up with this:
More workspace already! There’s two tabs hiding on the right-hand edge, and we don’t need them now. Click (or just hover) on one, and it’ll appear. Click on the triangle in the top right-hand corner of the box then press Close. Do the same with the other one so both Puppeteer and PowerPose dialogs are removed. We’re almost there, and ready to render!
We’re going to add one more tab. Go to View->Tabs->Surfaces then drag that new tab by holding down the mouse on the tab itself across to join the rest on the left. You should have four tabs all on the left-hand side – Content, Scene, Parameters, Surface. 99 times out of 100, you won’t need more than this. Click on the Content tab then press the triangle in the top-right corner. Choose View Folders at List.
Finally (phew!), press the little push-pin icon next to the triangle. OMG! All the tabs have gone! What did I do?!
If everything went well, you’ve given yourself a massive workspace, that’s what. It should look like this:
Now, we can render.
Hover over the Content tab, and it’ll open (now might be a good time to click ‘n’ drag the right-hand corner to resize it down to the bottom of the screen). Choose content->Figures->DAZ People. Inside you’ll find a model called Victoria 4.2 EZ and (if you installed him) Michael 4. Double click Vicky 4.2 and she’ll appear in the scene. If you didn’t install Mickey, go get Michael 4 for later! :D
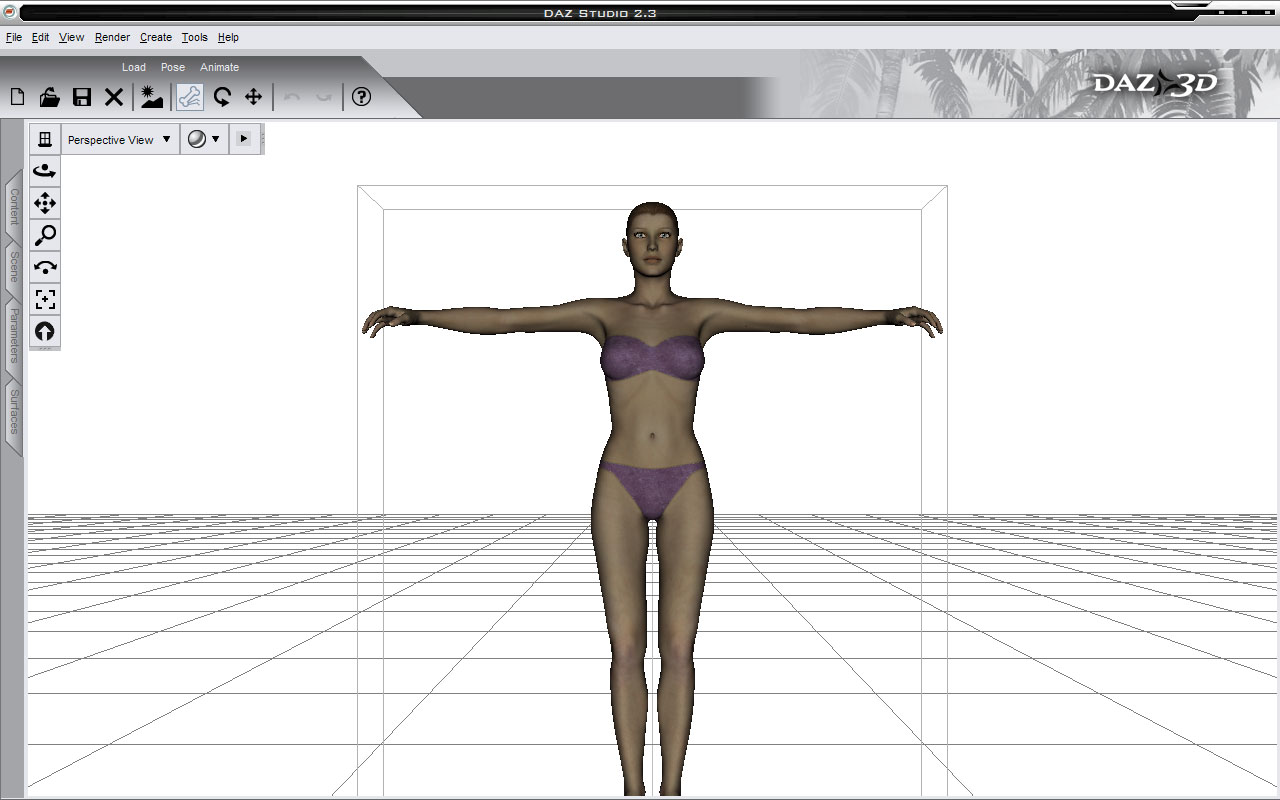
Most figures in DAZ Studio load in a default position, and Vicky 4.2 is no exception.
Note the horrible purple rash. It’s supposed to make her “kid friendly”, but actually makes it look like she’s allergic to soap powder. Poor girl. Thankfully, it’s easily fixed.
A quick note about nudity: 3D rendering involves a lot of working with representations of naked and semi-naked figures; at least, until you’ve put some clothes on their bones. Get over it. If this offends you in any way, please feel free to join the Amish community. I’m sure you’ll fit right in.
The content folder contains (as a minimum) four other folders labelled Figures, Poses, Props and Lights. The Figures folder contains objects you can add to a scene including characters, clothes, scene elements and (some) hair; it’s where the majority of your content lives. Poses includes…. uh…. poses…. but also materials that can change the “skin” or texture of an object. Props are objects (like those found in Figures) but tend to be less complex, and are usually attached or associated with a character. A pair of glasses or a sword, for example, might be found in Props. Finally, Lights is where you’ll find…… you’re ahead of me, right? The default light in DAZ Studio is replaced if you select any other Light from that folder, and lights are automatically switched out as you select others.
As you add more content, a few more folders might appear, but they’re self explanatory. Hands will contain poses just for hands so you can control how the figure grasps a sword or makes a gesture; A Faces folder will contain expressions, etc. Camera will store preset Cameras, and Hair will contain Hair models. And…. that’s about it. They’ll all live in the Content tab, all sorted and organised for you.
Vicky is probably getting cold. Let’s give her some clothes.
Content->Figures->Classic Casual V4 contains a pair of pants, a shirt and some shoes. Double-click each in turn and they’ll load into the scene. If Vicky is selected (ie, is surrounded by a box), all of the clothes should auto-conform to her meaning that the program “knows” that when Vicky moves, the clothing moves too. Clothing that’s not conformed will just hover in space until it’s fitted to a figure. Which can be kinda cool too, but not what we want.
We’ll cover how to conform clothing another time; for now, these clothes should automatically fit just fine.
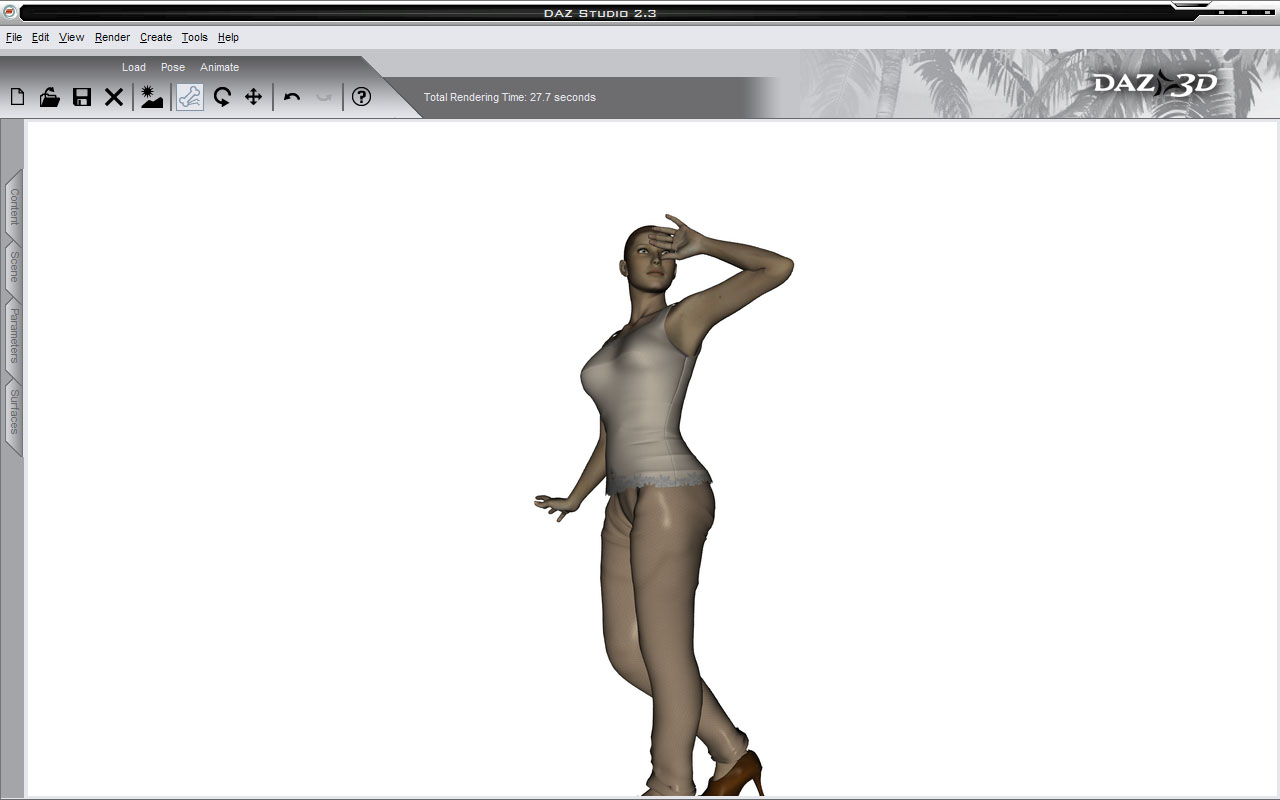
Finally, go to Content->Poses->DAZ’s Victoria 4->General Poses and pick a pose. Double-click a few until you find one you like, then hit CTRL-R to render.
Wow. Long post, but we got there in the end. Now, you should know how to change the layout and style of the interface, see how I’ve set mine up to maximize the workspace and learned a little about how DAZ Studio organizes its content.
Next time, we’ll look at how to build a scene and add lighting.
Till then!



I’m wondering about clothes and if you can buy them, or just create them from scratch. Stuff like RedHawk has on
@Blaquesaber In short, there’s four choices:
1) get new clothes, textures, etc from sites such as ShareCG (click on the Poser link at the top) that offers thousands of freebie goodies, with more appearing every day
2) buy new items from sites such as DAZ3d or Renderosity (both of which hold a stunning number of freebies as well)
3) create your own using a tool such Hexagon. That’s something I’ve never done, nor felt the need to either.
4) adapt what you’ve got. It’s simple to create a “fake” bodysuit by just changing the skin texture to look more like spandex and less like skin, for example. Mix that with existing clothing, etc and add a little imagination and anything is possible :)
I’ll be covering where and how to get new items…. soon!
Hi, New to Daz and still struggling with everything.
You said “Note the horrible purple rash… Thankfully, it’s easily fixed.”
How do you get rid of it?
Thanks,
@AndyB Make sure Vicky is selected in the Scenes tab, then go to Poses->DAZ’s Victoria 4->MATerials Sample-Res and double-click All_Natural_NG_QS.
Gone!
AHA! Done… many thanks.
I’m at novice level but this is so much better than the official tutorial I am amazed! I found this site when I was looking for the “red rash” remover. I am on the DAZ forums and nobody had the right idea on what to do (since they probably have many body morphs, etc.) Your information is definitely bookmarked.
You’re doing outstanding stuff here!
@JimC Many thanks for the kind words! I’m glad you like them.
All of the tutorials are tagged with the tutorial keyword so you can follow them from start to finish. I’m still looking for a simple way to display them in order (rather than reverse order), but in the meantime just start at the bottom and work up :D
More tutorials are coming soon!