When it comes to creating superhero images whether for your own amusement or to fill in that blank portrait spot on your character sheet I reckon there’s no better program than DAZ Studio. And today I’m going to show you just how to do it – for free.
I’ve already covered a lot of this ground before in the DAZ Studio tutorials (and I recommend checking them out), but this post should hopefully be a one-stop shop to get you started on the wonderful world of 3D rendering. Just so this doesn’t become a book-sized blogpost I’ll be skipping along at a fair old pace, so if there’s anything you need clarifying either use the search box or drop a question in the comments.
In future posts I’ll be showing you how to render Elves, Spaceships, fantasy dioramas and more. Watch this space!
Right now though, I’m going to show you how to get started rendering superheroes. You will need:
DAZ Studio 3 is available in two versions – free, and not-free. The free version is complete and unrestricted in any way. The Advanced version costs $149 and includes a whole load of additional plugins and advanced features. Seriously, you don’t need it. My humble aged laptop unfortunately can’t run DAZ Studio 3 due to the higher OpenGL requirements so for this tutorial I’m using DAZ Studio 2.3 (available at the bottom of this page if you have the same problems) but there’s few changes to the interface or workflow so you should be able to follow along with any version.
Michael 4 is the current best-quality male figure there is. The base figure is free and comes with a surprisingly good default texture. The only real catch is that morphs (to change his body shape) and higher-resolution textures cost extra – the Morhps++ pack costs $29 though is best bought as part of the Michael 4 Complete pack for $49. But you don’t need that for this purposes of this tute.
We’re going to use the lights from Pose Kit 1 and the two packs of shaders to create faux superhero costume bodysuit for Michael 4. Unzip the Poser Kit and you’ll find a folder called Runtime. Copy that into your DAZ Studio/content folder (there’s a Runtime folder already there). Unzip the Shaders and there’s content folders. Copy those into your DAZ Studio folder, and we’re ready to roll.
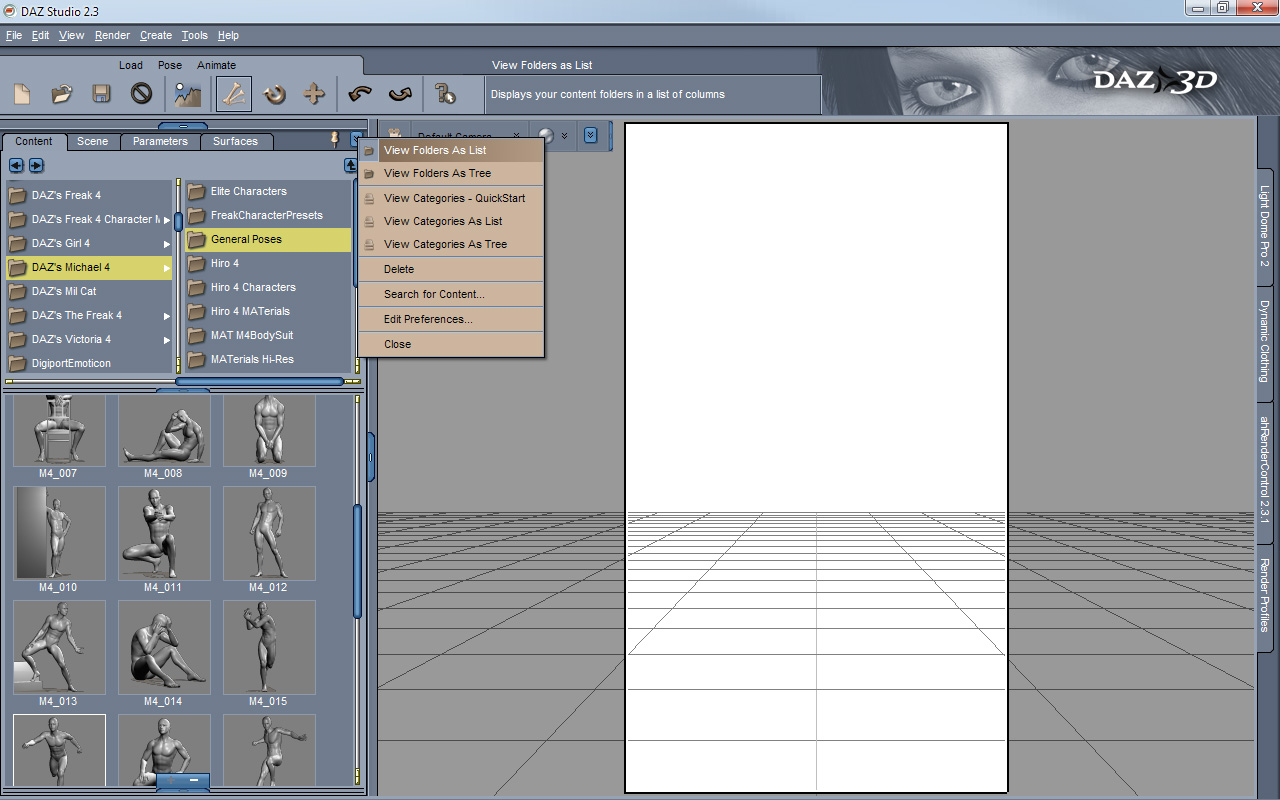
Fire up DAZ Studio and select File->New to get a blank scene. You’ll need to have four tabs visible on your screen to follow along, so select View->Interface Layout->Select Layout… and choose 2nd Level, then select View->Tab and make sure you’ve got the Content, Scene, Parameters and Surfaces tabs visible. Drag them around and position them as you wish. My layout, for example, looks like this:
As show above, select the content tab then click the little triangle in the top-right corner and choose View Folders as List. This shows all your content in folders rather than DAZ Studio’s default category-sorted view. Next, choose Render->Render Settings, set the Dimensions to Custom, 600×800 and make sure that Render to New Window is selected.
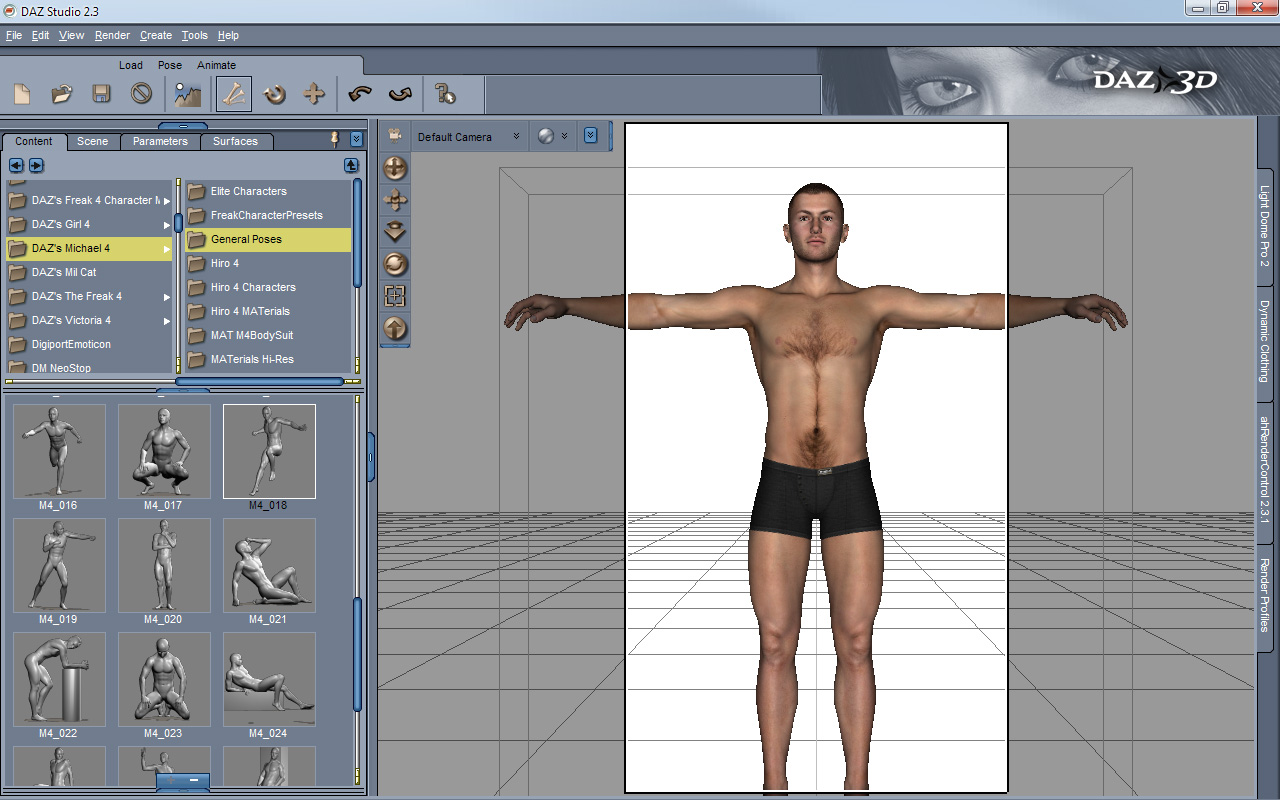
In the content tab, click on DAZ People->Michael 4 (just click Accept if the Powerloader pops up), and you should see something like this:
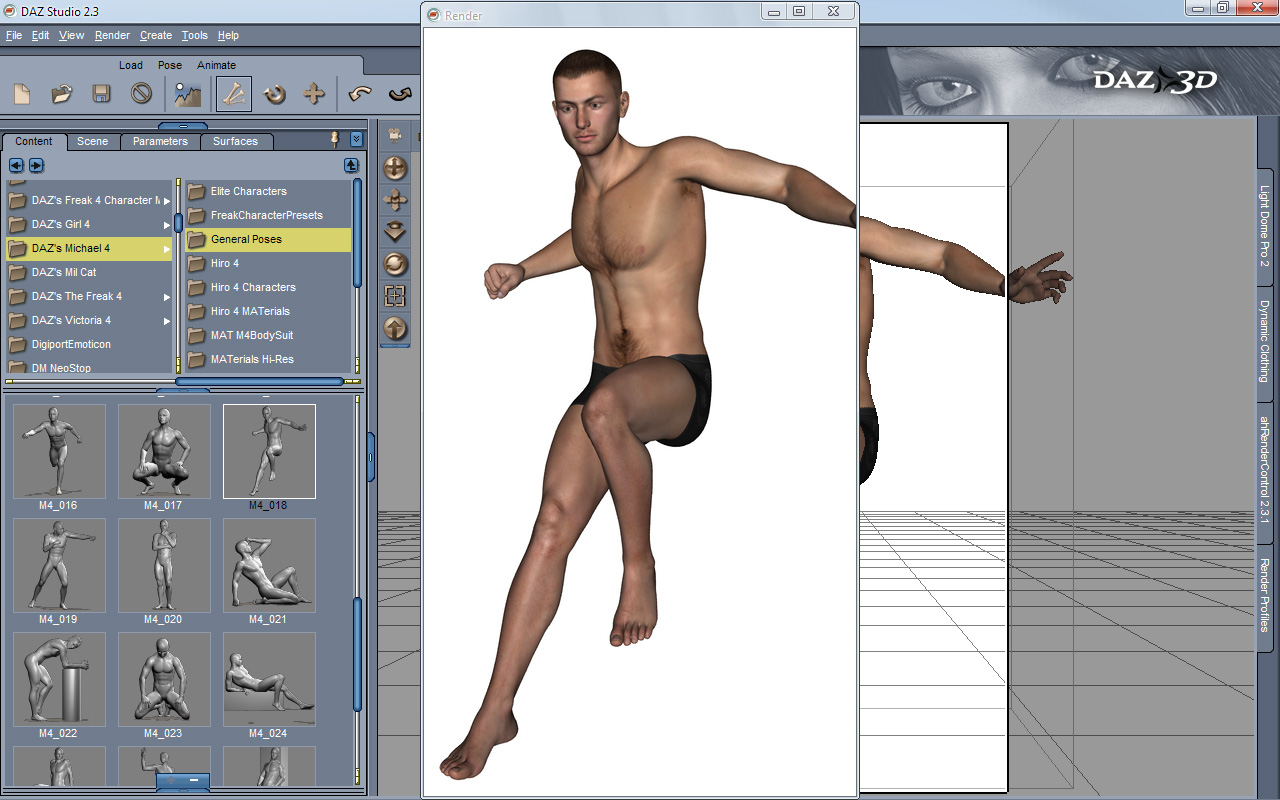
Time to pose him. Still in the content tab, head into Poses->DAZ’s Michael 4->General Poses and pick a suitably superheroic one. M4_18, for example. Reposition the camera using the controls in the top-left corner of the viewing window (the ball rotates the cam, the crosshairs pan it and the arrow pointing forward zooms it). Hit CTRL-R to render, and…….
Congratulations. Your first render of a… uhhh… naked superhero. If you want to save him for posterity, use File->Save Last Render. Before we clothe him, let’s add some lights to give him a little more definition. Go to Lights->Mostdigitalcreations->PoseKitM4 and choose 1a, 1b or 1c. Hit CTRL-R to see the effect of each. If you want a dark, brooding hero change the Background colour to black by pressing the triangle at the end of the camera controls, choose Background color and select black.
Time to give Our Hero a costume. As we’re doing things the quick, easy and cheap way, we are going to do this by using shaders applied directly to Michael’s skin to create a faux bodysuit. Shaders allow you to create textures, materials and other special effects on a surface. Every figure, prop or item of clothing has different material zones which you can alter, recolour and shade to create whatever effects you desire.
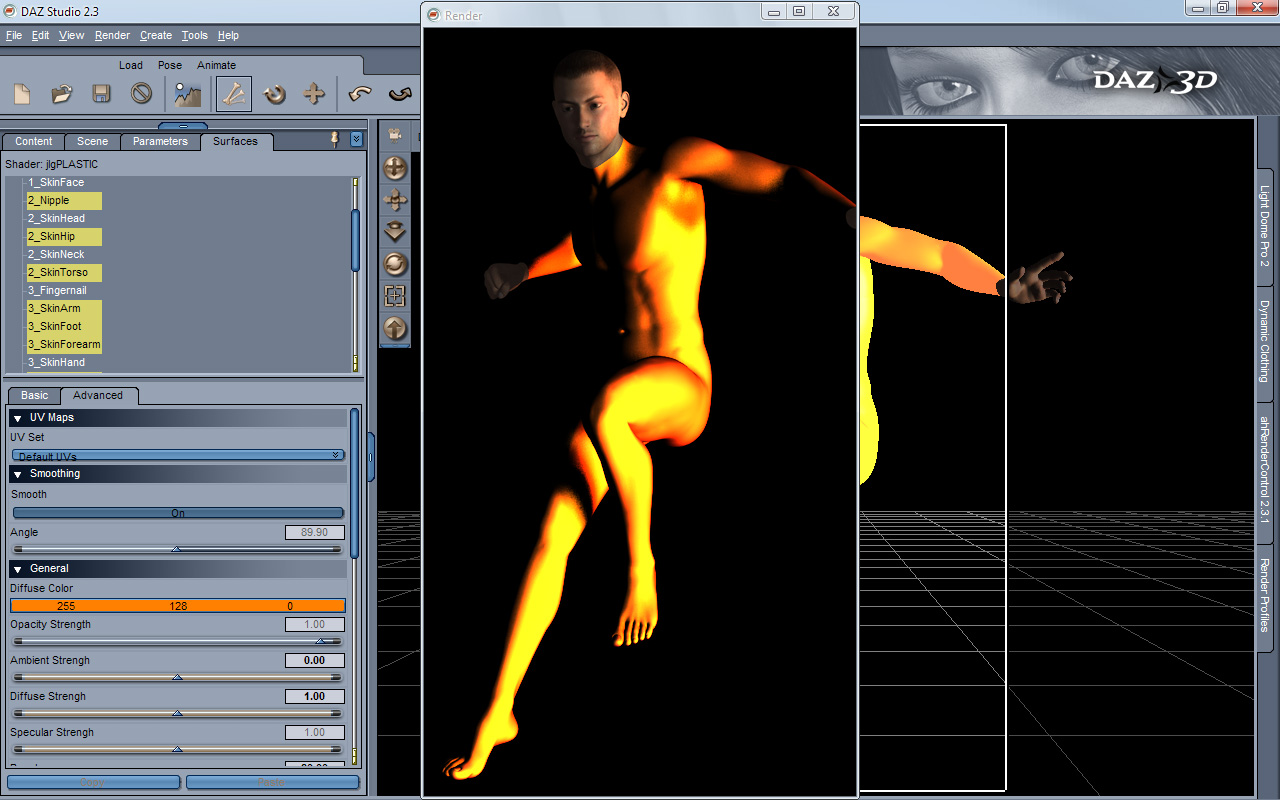
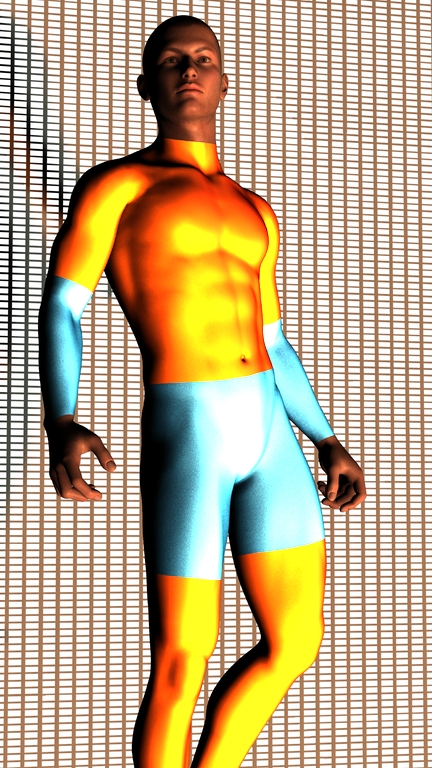
Make sure that Michael is selected in the Scenes tab, then go into the Surfaces tab and CTRL-click his Nipple, SkinHip, SkinTorso, SkinArm, SkinFoot, SkinForearm and SkinLeg. Back in the Content tab go into Content->Shaders->jlgPlastic Presets and double-click Fire. Hit CTRL-R.
You can mix and match using different shaders for different material zones. Select whichever zones you wish in the Surfaces tab by clicking to select one, or CTRL-clicking to select multiple. Apply the Ice shader to the Hips and Forearms and you get this guy.
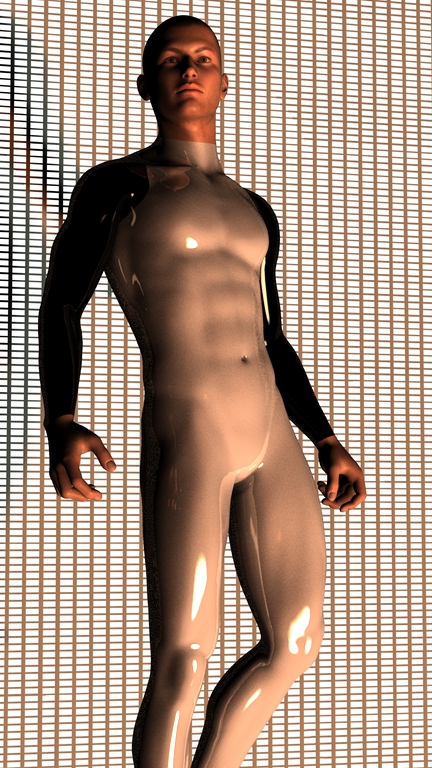
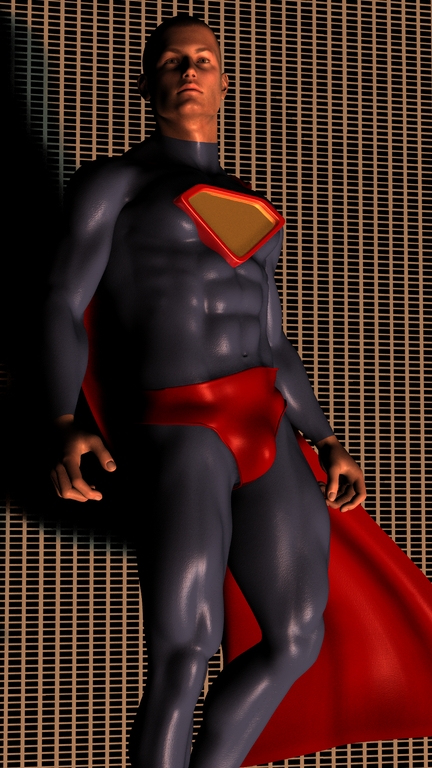
Over to you. Try out the different shaders and see if you can create that superhero style you’ve always wanted. Use the Super Shiny Shaders (Shaders->SuperShine) for that classic shiny Spandex look. Meet Domino, the two-tone superhero.
The only real limitation to applying shaders directly to the skin is the belly button. But, that’s why God invented Photoshop and the Clone Stamp tool, right?
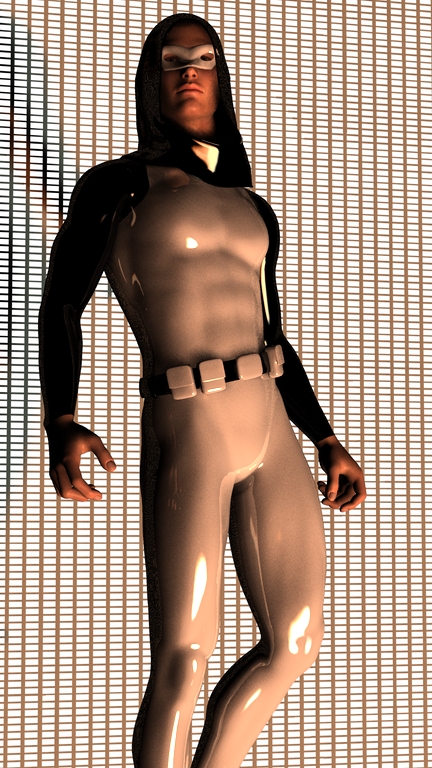
Working with the shaders can take you a long way, but at some point you’re going to hit a point where you need to accessorize, baby. One of the best superhero packs for DAZ Studio/Poser is Hero M4 by MDC. It’s just $7.50 and inludes masks, pants, bodysuit, cape, belts and more – plenty for an infinite variety of hero.
Domino, plus!
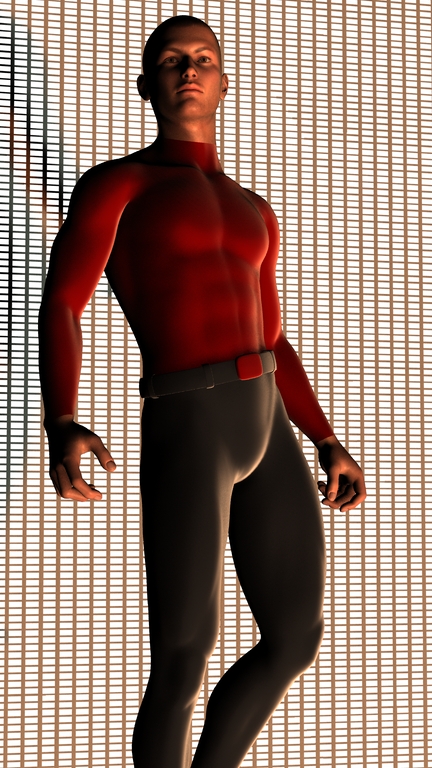
You’re not limited by the superhero genre either – use the jlgVelvet shaders with the belt from the Hero M4 set and you’ve a passable sci-fi uniform from a certain TV series.
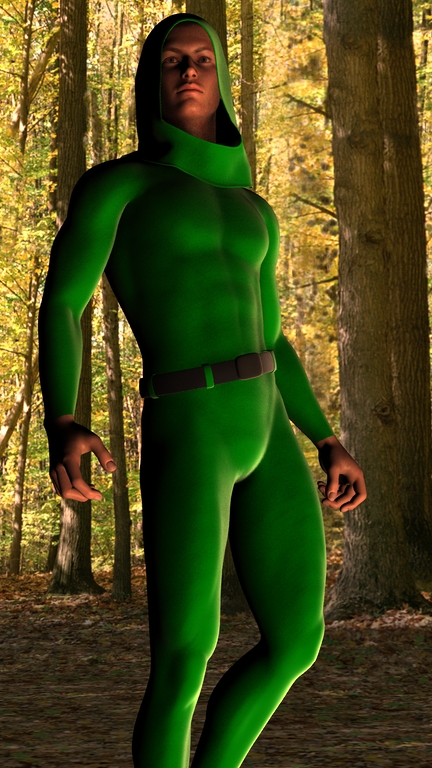
Change the colour of the velvet to green, use the Hero M4 hood, and you’ve got the makings of a fantasy Ranger
Add in the Morphs++ for muscle tone, and you get this guy.
In short, DAZ Studio is more than enough for your character portrait needs. Why not give it a try and finally fill in that blank portrait hole on your character sheet?



Very good tutorial, Greywulf. :D
.-= Elton´s last blog ..5 days till my birthday =-.
Excellent. This is just what I was looking for as I try to prepare some illos for Kapow!
.-= Joshua´s last blog ..Kapow! Playtest Starting =-.
I’ve admired your work for quite some time… but this is the first time I’ve actually been inspired to try DAZ out for myself.
Downloading now…….
.-= Josh´s last blog ..Just a Few Blue Falcon Pics =-.
Thanks, all!
@Josh Then my work is done :D
Is there a trick to getting the bodysuit to actually cover all of the body? If I change the proportions much at all from the default, the skin pokes through. I can use some of the controls to loosen the suit, but there don’t seem to be controls for all the areas (e.g. thighs)…am I missing something?
.-= Joshua´s last blog ..Kapow! Playtest Starting =-.
If you’ve got the bodysuit conformed to the figure (in the Scene tab select the Bodysuit, then in Parameters make sure it’s Fit to….. the figure) then it should auto-conform as you change the dials. Go too extreme though, and you will get poke-thru.
The quick’n’easy way to fix that is to hide the part of the underlying figure. In the Scene tab expand the figure and press the little Eye icon next to the offending body part (for example, the Right Thigh) and it’ll disappear.
I covered handling poke-through right here showing a whole range of techniques.
Hope that helps!
I’ll have to try it. I do have it fit to the figure, and the morphs aren’t extreme at all…perhaps the problem is I’m using the whole set of Brianna injections because that’s quick.
.-= Joshua´s last blog ..Kapow! Playtest Starting =-.
Ah. If you’re using a custom body morph then that’s likely to be your problem.
Body morphs come in two flavours – those that are “dialled” using Morphs++, and those which aren’t. If it is then clothing should fit pretty well, but if it isn’t you’re going to have to do a some fiddling to make it fit. I suspect that body morph is the latter.
For something like the bodysuit which covers the entire figure I suggest you don’t use the Brianna body morph for this but instead create a bodyshape yourself using the existing morph dials. It’s quicker that way.
Good luck!
I love your tutorials, and in reading through them all over the last week, I have learned a lot that just inst covered on the main website… Well maybe it is, but its so dry there…
One question, Joelegecko’s jlgShaders doesn’t work for DAZ 3, do you have any suggestions for what I could use in its place?
I can get them to work in DAZ 3.0.1 free…though it took a little bit to figure out how. The key, at least if you’re using a bodysuit, is to make sure that you don’t just select the surface in the surface tab, you have to make sure the bodysuit is the selected item in the Parameters tab. Otherwise even though it’ll highlight exactly what you click on under surfaces, the shader won’t apply. Once I figured that out, though, I didn’t seem to have any trouble applying anything from the jlg sets…
.-= Joshua´s last blog ..Kapow! Playtest Starting =-.
Rock on, thank you very much.
I will add them when I get off work tonight.
If you are looking for more shaders, I found some that look promising on share… the link to one of them is
http://www.sharecg.com/v/24063/Material-and-Shader/Tabalas-P6-Latex
Follow that, and on the related section, anythign by tabala… They look sweet.
Almost forgot… My superhero render.
http://www.enigmatic-dreams.org/dazstudio/CPT%20Universe.jpg
First time with shaders as well.
@Joshua I’ve mentioned it a few times in the tutorials but it’s easy to miss (or, in my case, forget :D) – you have to select the object in the Scene tab AND have the surfaces selected too. Just selecting one or the other won’t work.
Glad you figures it out :D
@Cypherwulfe Unfortunately those Shaders are for Poser, not DAZ Studio – it’ll take a fair amount of tweaking to get them to work. If you do, let me know.
And the render looks great!
A question sir…. I am doing a project for a friend which requires some primitives. One of which is a sphere…. How can I use a shader like supershine to color my sphere a specific rgb combination like 255,200,12?
@Cypherwulfe Use Create->New Primitive to make your Sphere. I suggest setting Segments and Sides to at least 24 to make it smooth.
Make sure it’s selected in the Scenes tab then in the Surfaces tab change the Diffuse colour to whatever you want. Double-click the colour bar and you can input the RGB value directly in the bottom-right corner of the dialog box.
Finally, go to Shaders->SuperShine Top Coat and CTRL-Double Click the Top Coat. Set Map Settings to Ignore (so if doesn’t change the colour) and you’re done!
If you don’t have the SuperShine Top Coat Shader already installed, you can grab it here. This lets you SuperShinify anything. Which is nice.
Easy when you know how :D
Nice, thank you fro the quick reply. In case you where wondering, I am making a tesseract image, will let you see it once its done.
And yeah, I added supershiny top coat when you where talking about it in one of your tuts.
@Cypherwulfe I look forward to seeing what you come up with.
Here’s another quick suggestion – create a big (100m) Plane at ground level, make sure it’s white and add a Super Shiny Top Coat. Keep the background White too and it looks like you’ve got an infinite plane with shadows and a touch of reflection below your figures. Looks cool!
It isn’t quite finished yet, I have to see what other changes he wants for it, but here it is, The Tesseract Magus
http://www.enigmatic-dreams.org/dazstudio/Tesseract%20Magus.jpg
@Cypherwulfe Hey that’s great – I’m VERY impressed! Getting everything to line up correctly for an image like this takes a lot of work.
Gets a pass from me :D
•Joelegecko’s jlgShaders
I am a late comer to DAz Studio. I cant remember how I found your lair but I have been having a blast and learning a great deal from you. Thanx. I was wondering of a way I could get these shaders as they are no longer available??
JP
The jlgShaders unfortunately do not work with DAZ Studio 4, and it is unlikely that they will be updated. The Super Shiny Shaders do work though, and they are available right here”.
There are good free alternative Shaders to be had, and most do work with DS4. Do a search for “Shader” in the DAZ Studio Freepozitory forum at DAZ3D and you should find plenty to keep you busy.
Hope that helps!